Freakazoid!


Episode: Candle Jack

Pumpkin Pie

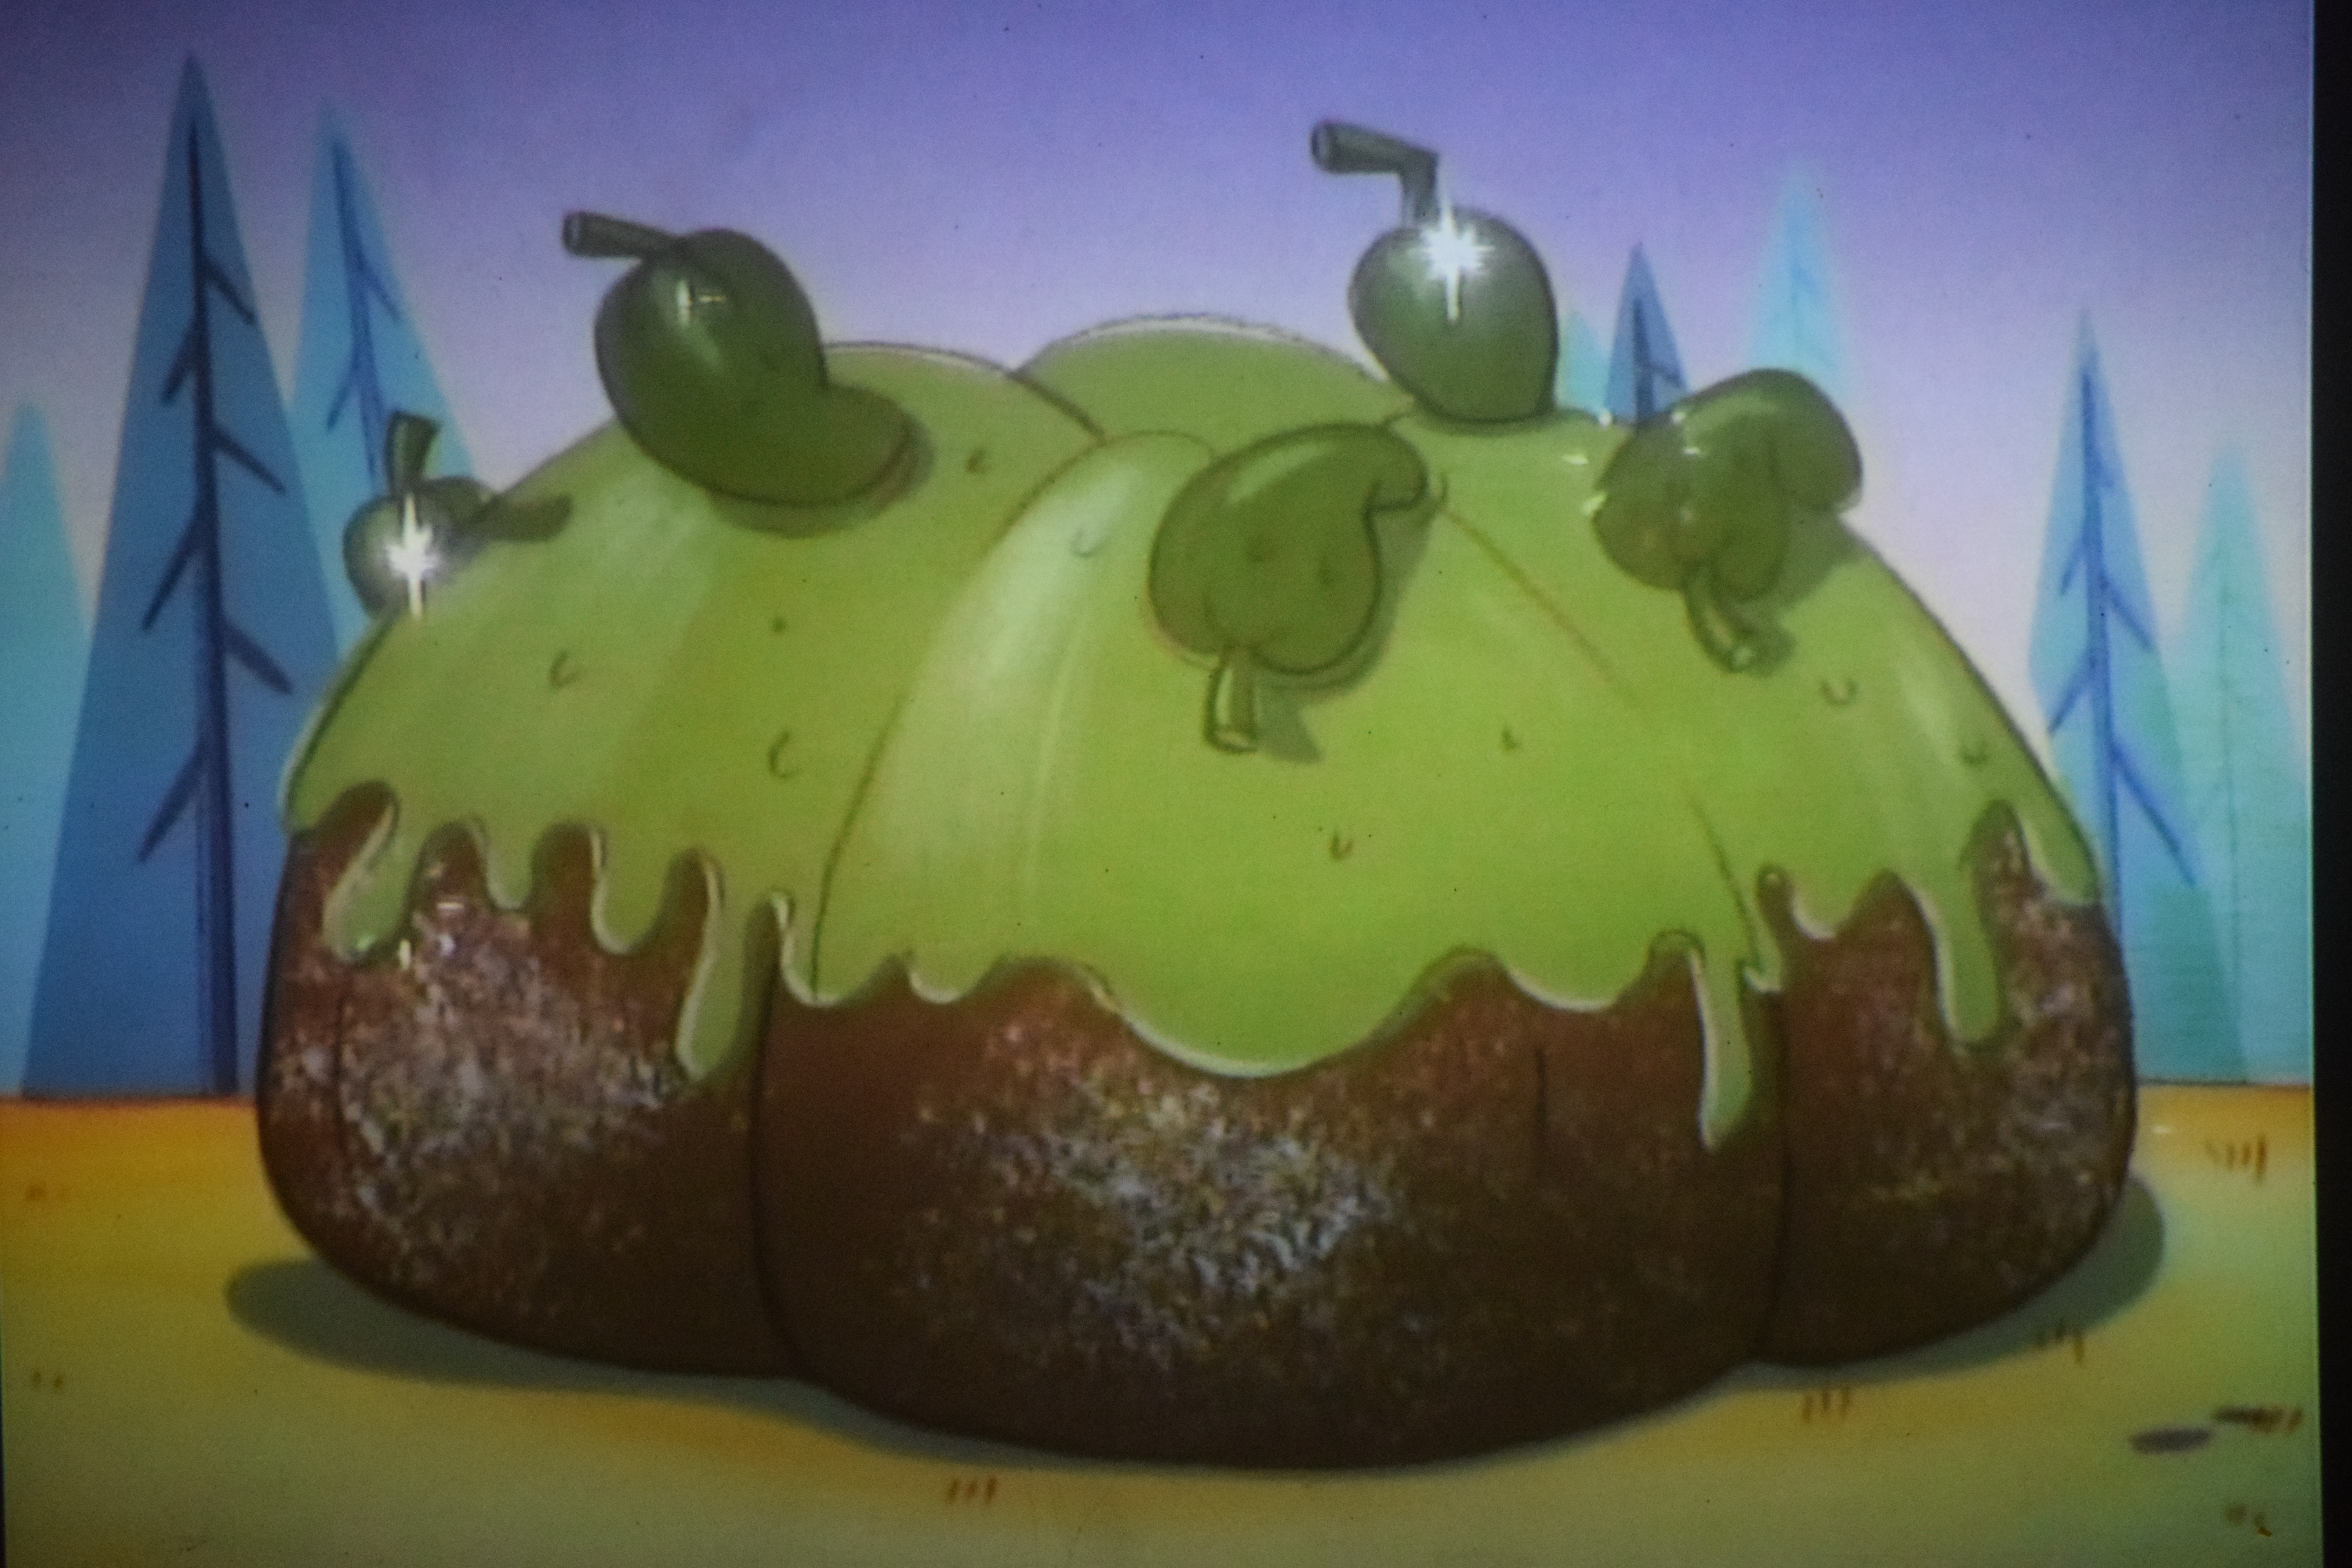
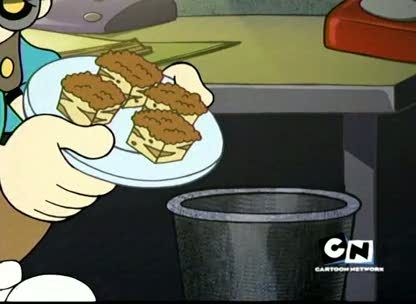
Happy Fall! This time of year has always been my favorite because it’s the “Goldilocks’ Standard” of the seasons. It’s just right! Plus there’s that little spooky feeling floating in the air. It’s the perfect time to sit around a campfire and scare the snot out of each other with stories about Sinbad getting another TV show. Oh, you don’t do that? Well, surely you must talk about Candle Jack? You know, the for real boogeyman guy with the bag on his head? Yeah, that guy. He’s one of my top Freakazoid! villains. (The Lobe wins out by a smidge.) When I was younger, I used to call him Candle Blank, so he couldn’t spirit me away, even though I thought it might be kind of fun. He’s just so gosh darn adorable!

And one thing that goes hand in hand with Fall and Candle Jack is perfectly plump pumpkin pie. That’s his weakness. Out of everything in the entire universe, that’s his weakness. How can you not like the guy? Just like the show. It’s so stupidly funny, that I still bust a gut whenever I think about it. My parents just stop and stare and wonder what on earth is wrong with me. Even I don’t know the answer to that, but I better take it easy on the laughter or I won’t be able to enjoy this pie.

Recipe makes one 9-inch pie.

 Ingredients

 Crust:

1 ¼ cups flour

½ teaspoon sugar

½ teaspoon salt

½ cup (1 stick) butter, cold and cut into chunks

2 tablespoons ice water, plus 1 or 2 more tablespoons if needed

Filling:

2 cups fresh (cooked and mashed) or canned pumpkin

¾ cup brown sugar

2 large eggs

1 large egg yolk

2 tablespoons molasses

1 ½ cups half-&-half

1 teaspoon cinnamon

½ teaspoon freshly ground nutmeg

½ teaspoon freshly grated ginger


Directions

 Crust:

In a food processor, pulse flour, sugar, and salt until combined. Add butter and pulse until mixture resembles coarse crumbs. Add 2 tablespoons of ice water and pulse until dough just comes together when pressed. If the dough is too dry, add more ice water, 1 tablespoon at a time, and pulse again. Form dough into a disk and cover in plastic wrap. Let dough chill until firm, 30 minutes to an hour.

Filling:

In a large mixing bowl, beat eggs, egg yolk, and brown sugar until smooth. Beat in pumpkin and molasses. Add cinnamon, nutmeg, and ginger. Gradually stir in half-&-half.

Putting It All Together:

Preheat oven to 450 degrees F.

Unwrap dough and place on a lightly floured surface. Roll out dough anywhere from 10 to 14 inches across and place in a pie tin. Gently press dough into place. Trim excess dough or fold it back on itself. Crimp edge for a more decorative look.

Pour filling into pie crust. Bake for 15 minutes. Reduce heat to 350 degrees and bake for 1 hour, or until skewer inserted in it comes out clean. Cool pie on a wire rack for 2 hours. Refrigerate or serve it up!

DSC_0406 (2) DSC_0384 (2)

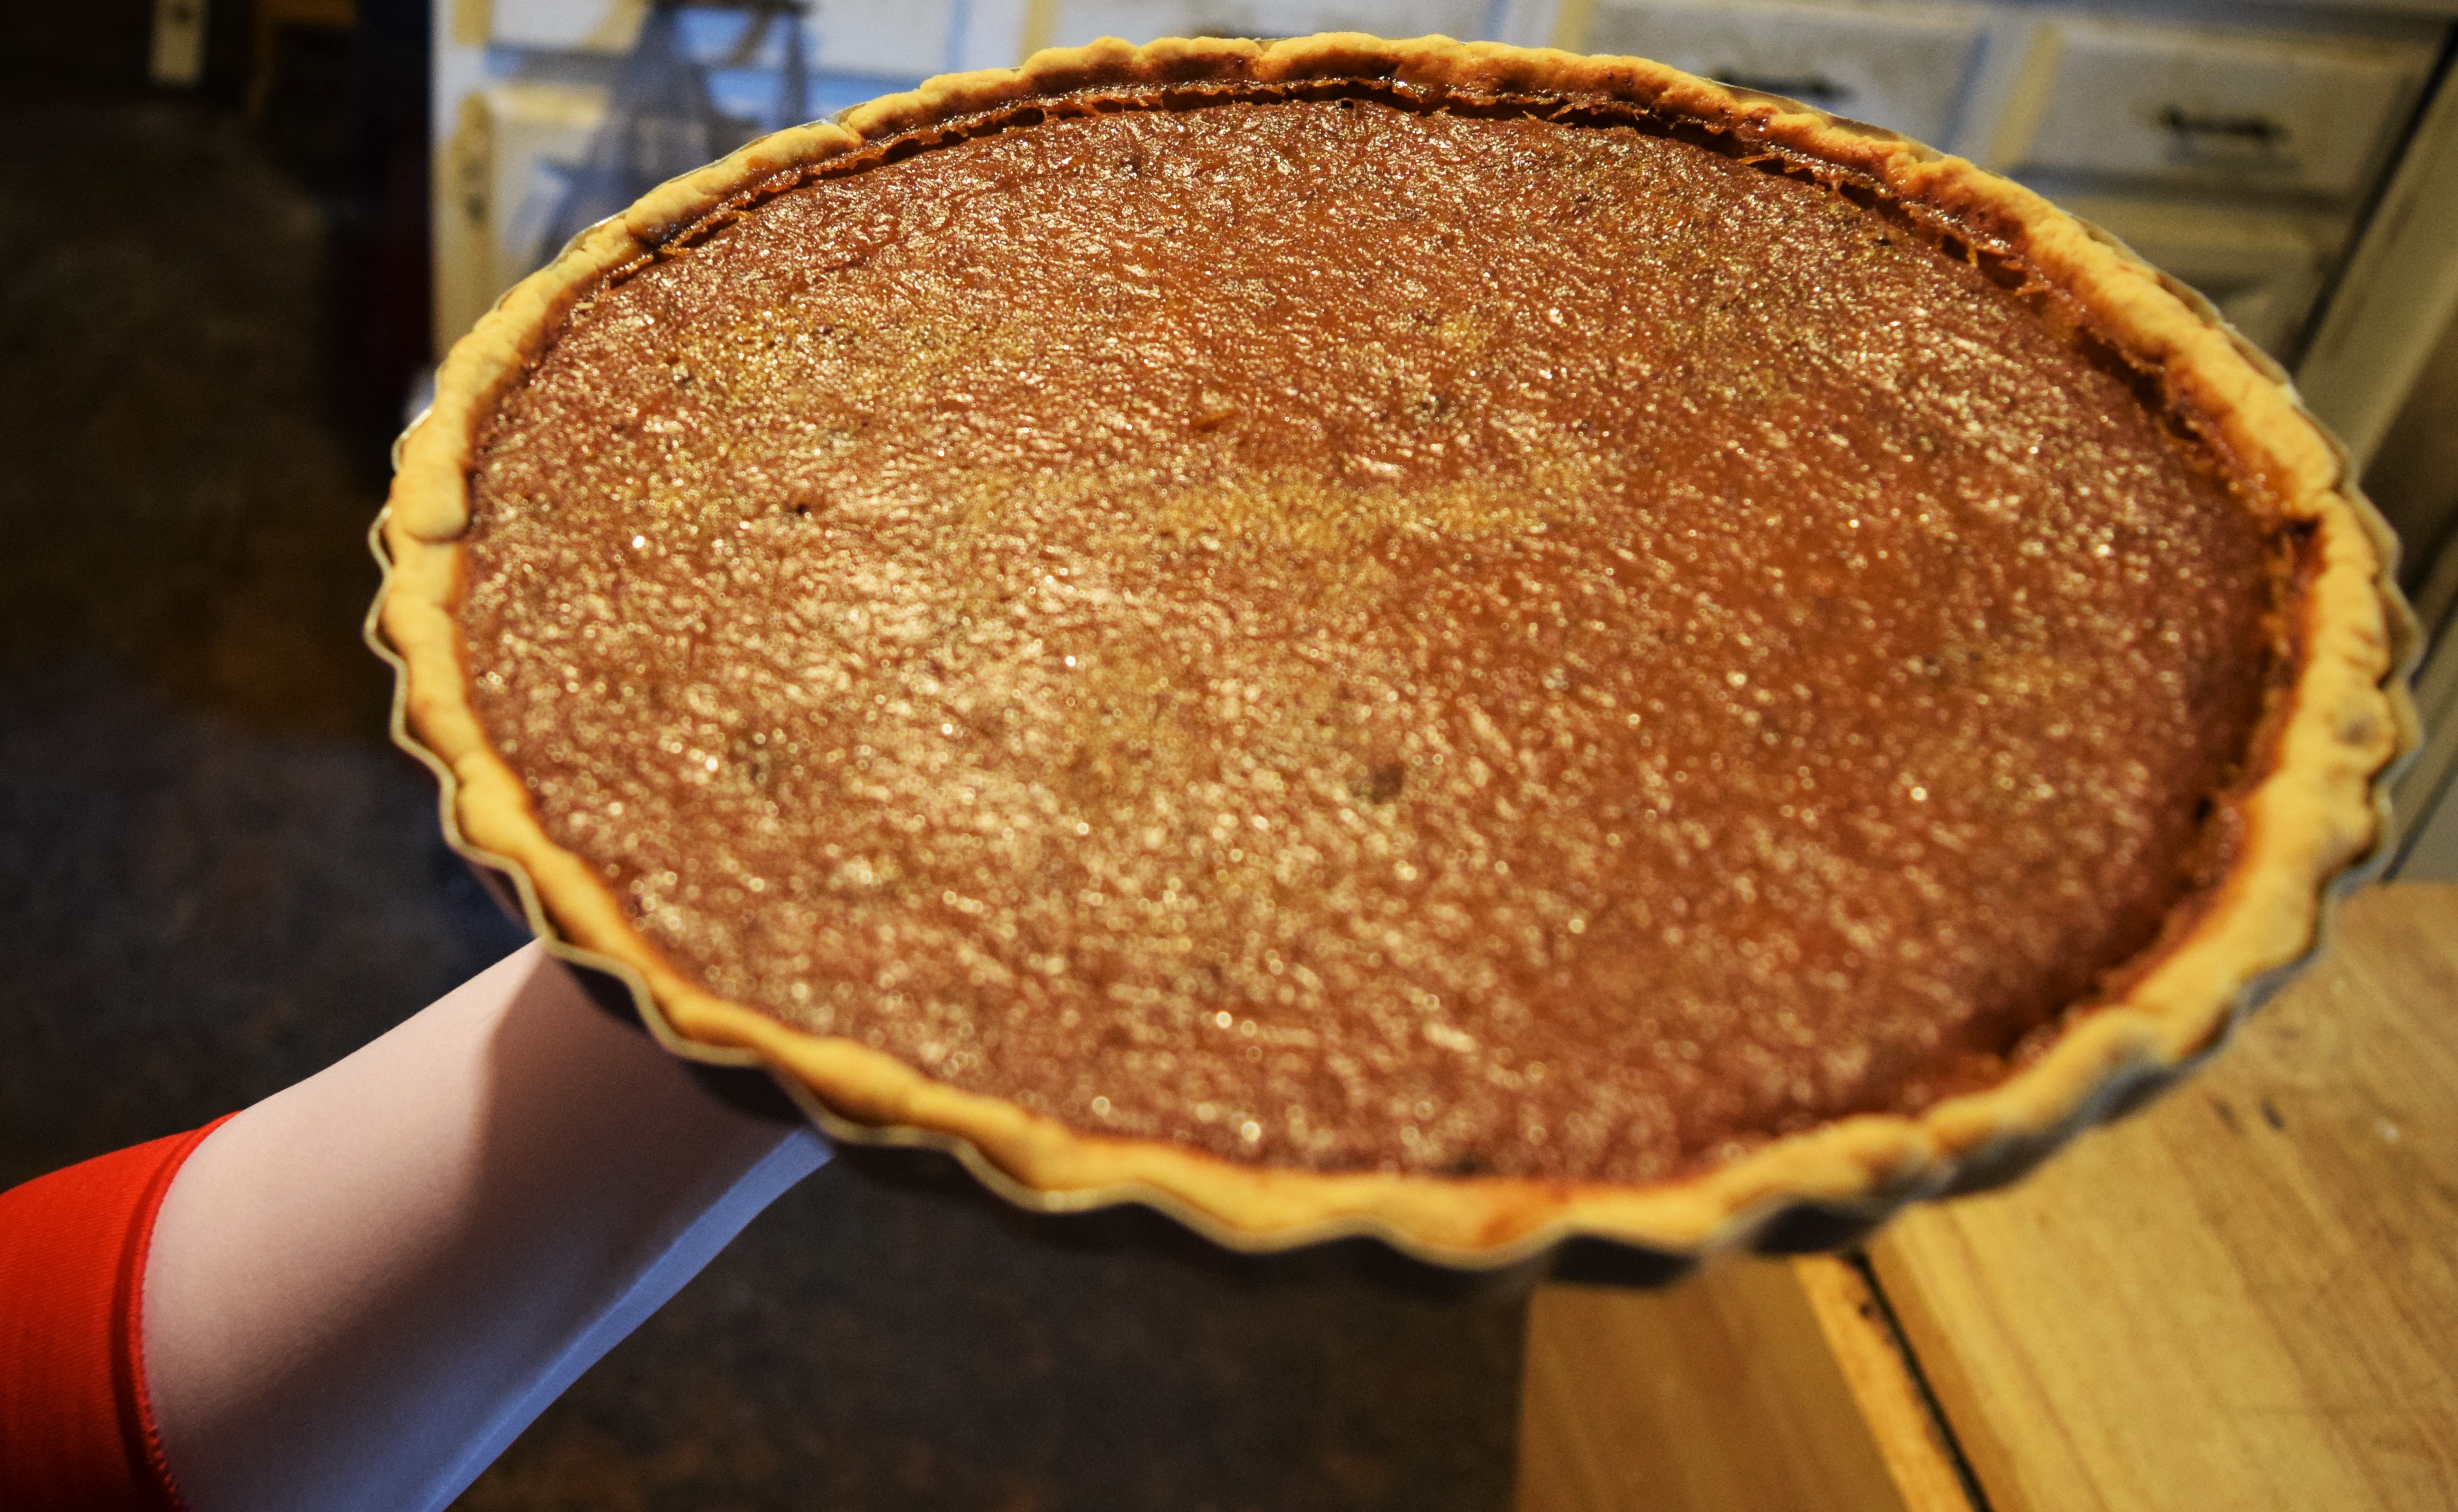
This pumpkin pie is definitely something to scream about. A happy kind of scream. Not a scary, Scream-O-Vision type. Forget the steel, mortar, and bricks. All you need to catch me is the pie. I’ll even go along willingly. And now you know the rest of the blog. Good day!


Tune in next week for more Cartoon Cravings!


Mickey’s Birthday Party

Birthday Cake

 I have no idea how I did it, but when I was a kid, I hardly ever slept. I couldn’t afford to. There was too much TV to watch. As time slowly crept to the wee hours of each morning and everyone else was asleep, I could be found in my living room huddled next to my television set. Some of my favorite things to watch on late-night TV were classic cartoon shorts. It didn’t matter who made them, how old they were, or if they were black and white or colored. I was captivated by them. That hasn’t changed. Yeah, I could’ve just waited a few hours and watched cartoons at a more “reasonable” time, but that’s not me. Watching cartoons alone in the dark really gave me a sense of companionship with the characters on my screen. I really felt like I was best friends with Mickey Mouse and the gang. We would go to the beach or try to catch ghosts. I was even invited to Mickey’s birthday party.

This is one of my absolute favorite Mickey Mouse cartoons, but not because of the birthday boy. Goofy and his cake escapades completely stole the show. That poor guy! I’ve had days just like his. You bake and bake, but nothing ever comes out right. When you’re finally happy with it or you just break down and buy a cake, you happen to trip and it collides with your friend. Thankfully, that didn’t happen with my cake. I’m not too great at decorating cakes, so it’s not the prettiest, but I felt like being a little ambitious in honor of my very own birthday.


Ingredients

 Cake:

1 cup (2 sticks) butter, room temperature

2 cups sugar

4 large eggs, room temperature

2 ¾ cups cake flour, sifted

2 teaspoons baking powder

½ teaspoon salt

2 teaspoons vanilla extract

1 cup milk, room temperature

 Marshmallow Fondant

 8 ounces of marshmallows

2 tablespoons water

½ teaspoon vanilla extract

4 cups (1 pound) powdered sugar, sifted

Pink food coloring

Buttercream Icing

½ cup (1 stick) butter, room temperature

½ cup shortening

2 teaspoons vanilla extract

2 tablespoons milk

4 cups (1 pound) powdered sugar, sifted

Red food coloring


Directions

 Preheat the oven to 350 degrees F.

Grease and flour a 6-inch, an 8-inch, and a 10-inch cake pan.

Cake:

In a large mixing bowl, combine flour, baking powder, and salt. In a small bowl, combine milk and vanilla. In a standing mixer, cream butter and sugar until fluffy (about 3 minutes). Add eggs one at a time, beating well after each addition. Add flour mixture and milk alternatingly, beginning and ending with the flour mixture. Stir until just combined. Divide batter amongst pans. Gently tap or drop pans on the counter to remove air pockets. Bake for 30 minutes or until a skewer comes out clean when the cake is tested. Cool in pans for 10 minutes. Remove cakes from pans and wrap completely in plastic wrap. This will help keep your cakes moist. Cool completely on baking racks.

Marshmallow Fondant:

Melt marshmallows in a large bowl in a microwave for 1 minute, stirring at the 30 second mark. Stir water and vanilla extract into marshmallows. Stir in powdered sugar a cup at a time until sticky dough is formed. Dust counter with remaining powdered sugar and turn out dough. You may want to rub your hands with shortening or butter to keep them from sticking to the dough. Knead dough until smooth, workable, and no longer sticky. This can take up to 10 minutes. Then it’s ready to use. You can also make this the night before. Just wrap it in plastic wrap, and chill. Allow it to warm up to room temperature before trying to work the dough.

Buttercream Icing:

In a stand mixer, beat butter and shortening until fluffy. Add vanilla extract. Beat powdered sugar in, a little at a time. Scrape down sides of the bowl and add milk. If the icing is too thick, add more milk, ½ teaspoon at a time.

Putting It All Together:

Unwrap cooled cakes. Cut cakes to size and even out, if needed. Cover the cakes with enough icing to hold in the crumbs and allow the fondant to stick. Roll fondant out as thin as you can without tearing it. Cover bottom cake tier with fondant and smooth out sides so there are no creases. Remove excess fondant. Smooth out edges with hands or tools. Repeat with the other cakes and stack.

Knead a small amount of pink food coloring into some remaining fondant. Shape small pieces of pink fondant into flowers or roll and cut out with a small flower cookie cutter. Scoop some icing into a piping bag with a large tip and pipe icing onto the sides of each tier and the top of the cake. Place fondant flowers on the cake. Add some red food coloring to a small bit of remaining icing and scoop red icing into piping bag with a thin tip. Pipe out “Happy Birthday” onto the side of the cake. Light some candles and get ready to sing!

Variations: You can always use different sized cake pans if you want larger edges or a larger cake in general. The cake I made is very light in color, so if you want a more brown cake, add a little brown food coloring to the batter when you’re alternating the wet and dry ingredients. If you want to completely change it up, make whatever kind of cake you like best. You can also use pre-made fondant or icing if you’re pressed for time or just don’t feel like making any. Icing can also be made without the butter. Just double the shortening for even whiter icing. That’s the way my mom does it.

You can just use buttercream if you don’t care for fondant. After you initially ice the cakes, chill for at least 10 minutes. Dollop more icing on and spread until even and smooth. Chill the cakes again before you stack them and add the details.

Since I was making this cake for just myself, I did single layer tiers, but typical tiered cakes have multiple layers. (And are much bigger and more work.) Just double everything, spread icing between cake layers, stack, cover the tier with icing, and move on to the next one.

Mickey cake DSC_0290 (2)

The cake’s not as big as Mickey’s, but it suits this birthday girl just fine. At least I’m not covered in it. Although I wouldn’t be too terribly upset. It’s still cake and it’s delicious even if it’s ugly or smashed. Hey, Mickey didn’t seem that heartbroken when he accidentally got his cake all to himself, now did he?


Tune in next week for more Cartoon Cravings!


The Angry Beavers

Episode: Deranged Ranger

Jalapeño Bundt Cake

 I’m going to go out on a limb here and say that angry beavers are probably my spirit animals. (Get it? Limb. You know, trees?) Sorry about that. Anyhoo, those pointy weasel things do indeed lead a life not too different from mine. Norbert and Daggett are supposed to be responsible and basically adult-like, but they spend most of their time playing with toys, eating junk food, and staying up all night watching TV. Yep, same here. We can’t help it. We’re all just big kids. Oh, and in case you’re curious, I’m the Daggett Doofus Beaver of my house. I’m a big, klutzy, daddy longlegs hating baby who breaks things. My Norby Worby just so happens to be my little sister. She acts much older than I do and she’s crazy about hair and music. Also, she may have on occasion tricked me into doing things for her. All we need is a bunk bed and some Lickety-Splits and we’re the beaver dream team.

There’s just one thing we’re missing: jalapeños. The beavers’ food of choice. And what is the best way to wolf down those little peppers? By baking a jalapeño Bundt cake! With all the junk those boys scarf down, this cake has got to be the granddaddy of it all if Dag says it’s his favorite.

Ingredients

 Cake:

1 cup (4 large) jalapeños, plus any extras for garnishing

1 tablespoon butter

1 ½ cups (3 sticks) butter, room temperature

1 (8 ounce) package cream cheese, room temperature

3 cups sugar

6 large eggs

1 tsp vanilla extract

3 cups sifted cake flour

1 tsp salt

1 tsp baking powder

½ tsp baking soda

Glaze

 3 tablespoons butter

2 cups sifted powdered sugar

2 tablespoons milk

½ teaspoon vanilla extract

Green food coloring


Directions

Preheat the oven to 350 degrees F.

Grease a Bundt cake pan

Cake:

Cut jalapeños, clean out seeds and ribs, and finely chop. Melt 1 tablespoon butter in a medium saucepan on medium heat. Cook down jalapenos until soft, about 10 minutes. Set aside.

In a large mixing bowl, combine cake flour, salt, baking powder, and baking soda.

In a stand mixer, beat butter and cream cheese together. Add sugar and beat until light and fluffy. Add eggs, one at a time, beating well after each. Add vanilla. Add dry ingredients in three additions, scraping down the sides of the bowl after each. Mix until just combined. Pour batter into greased Bundt cake pan. Smooth out and gently tap pan on counter to remove any air pockets. Bake for 60-75 minutes or until golden and a toothpick inserted comes out clean. Cool in pan for 15 minutes. Remove cake and let cool completely.

Glaze:

Melt butter in a saucepan or microwave. Add powdered sugar a little at a time. Mix in milk and vanilla. Add a little green food coloring. Adjust thickness to your liking. If it’s too thick, add more milk. If it turns out too thin, add more powdered sugar.

Putting It All Together:

Pour glaze over cooled cake. Place jalapeños on top to make it look pretty. Cut, serve, and enjoy!

DSC_0271DSC_0269 (2)

I guess there’s another thing I have in common with Dag. I love this cake! It would completely break my heart (and my teeth) if I tried to eat a giant jalapeño Bundt cake only to find out it’s made of cement. Well, I can’t say the same for my beaver brethren (Norb splattered batter on Dag’s booty in Mistaken Identity), but this cake will at least keep the two of us out of trouble. For now.


Tune in next week for more Cartoon Cravings!


The Fairly OddParents


http://https://www.youtube.com/watch?v=fA7B-vMxbPE


Episode: Snack Attack

Spark Tarts

 Fairy Godparents who grant just about any wish I ask for? Sign me up! Alas, I couldn’t get my own fairies because I had quite the happy childhood. (Stinks, right?) So I’ll just sit here and seethe with jealousy as I watch Timmy Turner adventure with the magical beings I so rightly deserve. Ew, I’m starting to remind myself of Mr. Crocker. Well, at least I’m not as bad asFAIRYGODPARENTSFAIRYGODPARENTSFAIRYGODPARENTS!!!!! Ouch. Maybe I spoke too soon.

Come on. Timmy even has a fairy dog who bakes! I love my dog and wouldn’t trade her for all the magic in Fairy World, but she’d rather steal my food than make some herself. Sparky, on the other hand, makes “magically delicious” dog treats that are so addictive that Timmy’s Dad ate a million of them. I don’t know about dog treats, but I do have something that might do the trick.

Recipe makes roughly 15 spark tarts. It can vary by the size of cookie cutter used. Mine were stubby!

 Ingredients

2 ¼ cups flour

1 teaspoon baking powder

½ teaspoon salt

½ cup butter flavored shortening

¾ cup sugar

1 large egg

1 teaspoon vanilla

3 tablespoons milk

1 egg, plus 1 tablespoon of milk for egg wash

turbinado/raw sugar or additional white granulated sugar – Optional, but it makes it sparkly!


Directions

 Combine flour, baking powder and salt in a medium bowl. In a stand mixer, cream together shortening and sugar on medium speed. Reduce the speed to low and add the egg and vanilla. Add the flour mixture a little at a time, alternating with the milk. Remove dough from stand mixer and flatten into a disk. Wrap in plastic and chill for 1 hour or until firm.

Preheat oven to 350 degrees F.

Roll the dough out to a thickness of 1/4 an inch. Have some flour on hand because the dough will start to get sticky as it warms up. Cut out shapes with a doggy bone cookie cutter and place on parchment-lined baking sheets. Roll out scraps and cut out shapes until you run out of dough. Chill Spark Tarts for 15 minutes to help them retain their shapes while baking.

Make an egg wash by whisking together one egg and a tablespoon of milk. Brush the Spark Tarts with the egg wash and dust with sugar. Bake for 25 minutes or until the edges begin to brown. Remove and transfer to a cooling rack. Then stuff your face!

DSC_0130DSC_0092 (2)

These Spark Tarts are pretty yummy with a nice, big glass of milk, even without the secret ingredient. I didn’t have any fairy dust on hand, but if you have some lying around, feel free to add it. I probably could eat a million Spark Tarts, but the only thing I’d wish for afterwards would be to have my stomach pumped.


Tune in next week for more Cartoon Cravings!


Codename: Kid’s Next Door

Episode: Operation: P.I.N.K.E.Y.E

Nurse Claiborne’s Apple Crumble

We all knew that adults were conspiring against us kids, but we had no concrete evidence. That’s where Codename: Kids Next Door came in. This show exposed all of the adults’ secrets, so we could plan our counterattack. But we weren’t prepared to discover just how far their lies went and saw things that can never be unseen. Things that were so jarring, that they’ll haunt me for the rest of my life. I was a witness to Operation: P.I.N.K.E.Y.E.

Seriously, watching Nurse Claiborne harvest eye crust for her apple crumble was super gross. Numbah 2 took it a lot better than I did, especially when he’d been munching on crumbles all day. Oh yeah, and did I mention they’re probably filled with boogers!? Despite how icky that episode is, it’s actually one of my favorites. Regardless, now my poor, messed up inner child can have her revenge on adults in the form of tasty, non-eye crusty nor boogery apple crumble!

Recipe makes 16 crumble slices.

 Ingredients

 Cake:

2 cups flour

1 teaspoon baking soda

1 teaspoon cinnamon

½ teaspoon salt

½ cup butter

1 ¼ cups light brown sugar

2 large eggs

1 teaspoon vanilla

1 cup sour cream

Filling

 1 ½ tablespoons butter

2 cups apples, peeled and chopped

¼ cup brown sugar

½ tablespoon cinnamon

1/8 teaspoon nutmeg

1 tablespoon lemon juice

1 tablespoon cornstarch

Crumble

¾ cup flour

½ cup brown sugar

3 tablespoons turbinado/raw sugar – Optional, but it gives it a nice crunch.

6 tablespoons butter, cold – cut into small chunks


Directions

 Preheat the oven to 350 degrees F.

Grease a 9 X 9 baking dish

Filling:

Melt butter in a saucepan over medium heat. Add the apples, sugar, cinnamon, and nutmeg. Cook the apples for 10 minutes or until soft. (Some varieties take much longer to soften.) Add the lemon juice and cornstarch and cook until the mixture bubbles. Reduce the heat to low and cook an additional minute, stirring constantly. Remove from heat and set aside.

Cake:

Combine flour, baking soda, cinnamon, and salt in a medium bowl. In a stand mixer, cream butter and sugar on medium speed until fluffy. Add the eggs one at a time and beat after each addition. Add the vanilla. Reduce the speed to low and add the dry ingredients and sour cream, alternatingly.

Crumble:

Combine flour, brown sugar, and turbinado sugar in a small bowl. Cut in butter until the mixture resembles coarse crumbs.

Putting It All Together:

We’re making layers! Pour enough batter into the baking dish to cover the bottom. Spread half the filling over the batter. Add more batter to cover the filling. Spread the rest of the filling over that batter layer. Pour and spread the remainder of the batter on top. Run a skewer through the cake, just enough to swirl the layers together a little. Smooth out and completely cover with crumble topping. Bake for 35 – 40 minutes, or until golden and set. Remove and cool completely on a wire rack. Cut, serve, and enjoy!

Variations: You can use a 9 X 13 pan for thinner crumbles and you can certainly add more topping.

KND CrumbleDSC_0201 (2)

Take that adult tyranny! We’ve taken back our baked goods. Next we’ll take back the ice cream, and the school lunches, and then the whole world! OK, I know that I’ve technically outgrown the KND, but age is just a number. I’ll keep doing my grownup stuff because I have to, but I’ll always be an honorary member of the Kids Next Door.


Tune in next week for more Cartoon Cravings!