Gingerbread men have become synonymous with the Holiday Season, but when I think of those guys, my mind goes straight to Little Audrey. My grandparents had one nondescript little VHS tape titled The Gingerbread Man, and we watched it quite frequently. Tarts and Flowers easily became one of my favorite cartoons and it still ranks up there. I’m a sucker for anthropomorphic food and I’ve always been a sweet fiend. Needless to say, I want to live in Cakeland! Well, if I did, no one else would. I’d eat all of my neighbors.
Everything about this cartoon is just so darn charming. Angel Cake getting dolled up for her wedding with powdered sugar, whipped cream, and a cherry. And my favorite part is when Little Audrey busts out an egg beater and whips the Old Milk Stream to stop that nasty Devil Food Cake. And I can’t forget about that heroic, little Gingerbread Man. He was in a hurry because he was getting married and he invited Little Audrey to follow him if she could keep up. I was so used to hearing stories about a mischievous cookie, so the friendly one was a nice change.
The recipe that Little Audrey follows from her radio chef is kind of odd because she adds things like mustard and a cake of yeast. The Gingerbread Man also started out as batter before he went into the oven. I know that gingerbread can be made a thousand different ways, so I’m just going to stick with the rolling and cutting cookie dough method.
Recipe makes about 13 giant gingerbread men, but it varies with the size and shape of the cookie cutter.
Ingredients
Gingerbread Men:
¾ cup (1 ½ sticks) butter, room temperature
1 cup packed brown sugar
1 egg
¼ cup molasses
3 cups flour
½ teaspoon salt
1 ½ teaspoons baking soda
½ teaspoon cinnamon
½ teaspoon freshly ground nutmeg
½ teaspoon cloves (It’s a gingerbread must, but I don’t really like it, so I say optional.)
2 teaspoons ground ginger
2 tablespoons freshly grated ginger
Royal Icing
2 large egg whites
1 teaspoon vanilla
4 cups powdered sugar, sifted
Black and Brown food coloring
If you want to avoid raw eggs, use these in place of the egg whites:
3 tablespoons meringue powder
½ cup warm water
Directions
Gingerbread Men:
Combine flour, baking soda, salt, cinnamon, nutmeg, cloves, and ground ginger in a medium bowl.
Beat butter and brown sugar together in a stand mixer on medium speed until light and fluffy, about 2-3 minutes. Add the egg, molasses, and grated ginger and beat together another minute. Add the dry ingredients a little at a time and stir until combined. Divide dough in two and flatten each half into a disk. Cover each disk with plastic wrap and chill in the refrigerator for at least 1 hour.
Lightly dust a counter with flour and roll out a disk to ¼ inch thickness. Cut out desired shapes and place on a cookie sheet. Re-roll and cut until you run out of dough and continue this process with the other disk. Place cookie sheets in the refrigerator to chill for 30 minutes. This will help your gingerbread men stay in shape.
Preheat oven to 350 degrees F.
Place cookies in the oven and bake, rotating trays halfway through, until the edges are set, about 15 minutes. Allow the cookies to cool on their sheets for 2 minutes and move to a wire rack. Let them cool completely.
Icing:
Beat the egg whites (or meringue powder and water) and vanilla in a stand mixer until just combined. Add the powdered sugar and beat on low speed until combined. Increase the speed to high and beat until the icing is stiff and shiny, about 5-7 minutes. Divide icing among smaller bowls and add different food colorings to each one.
Putting It All Together:
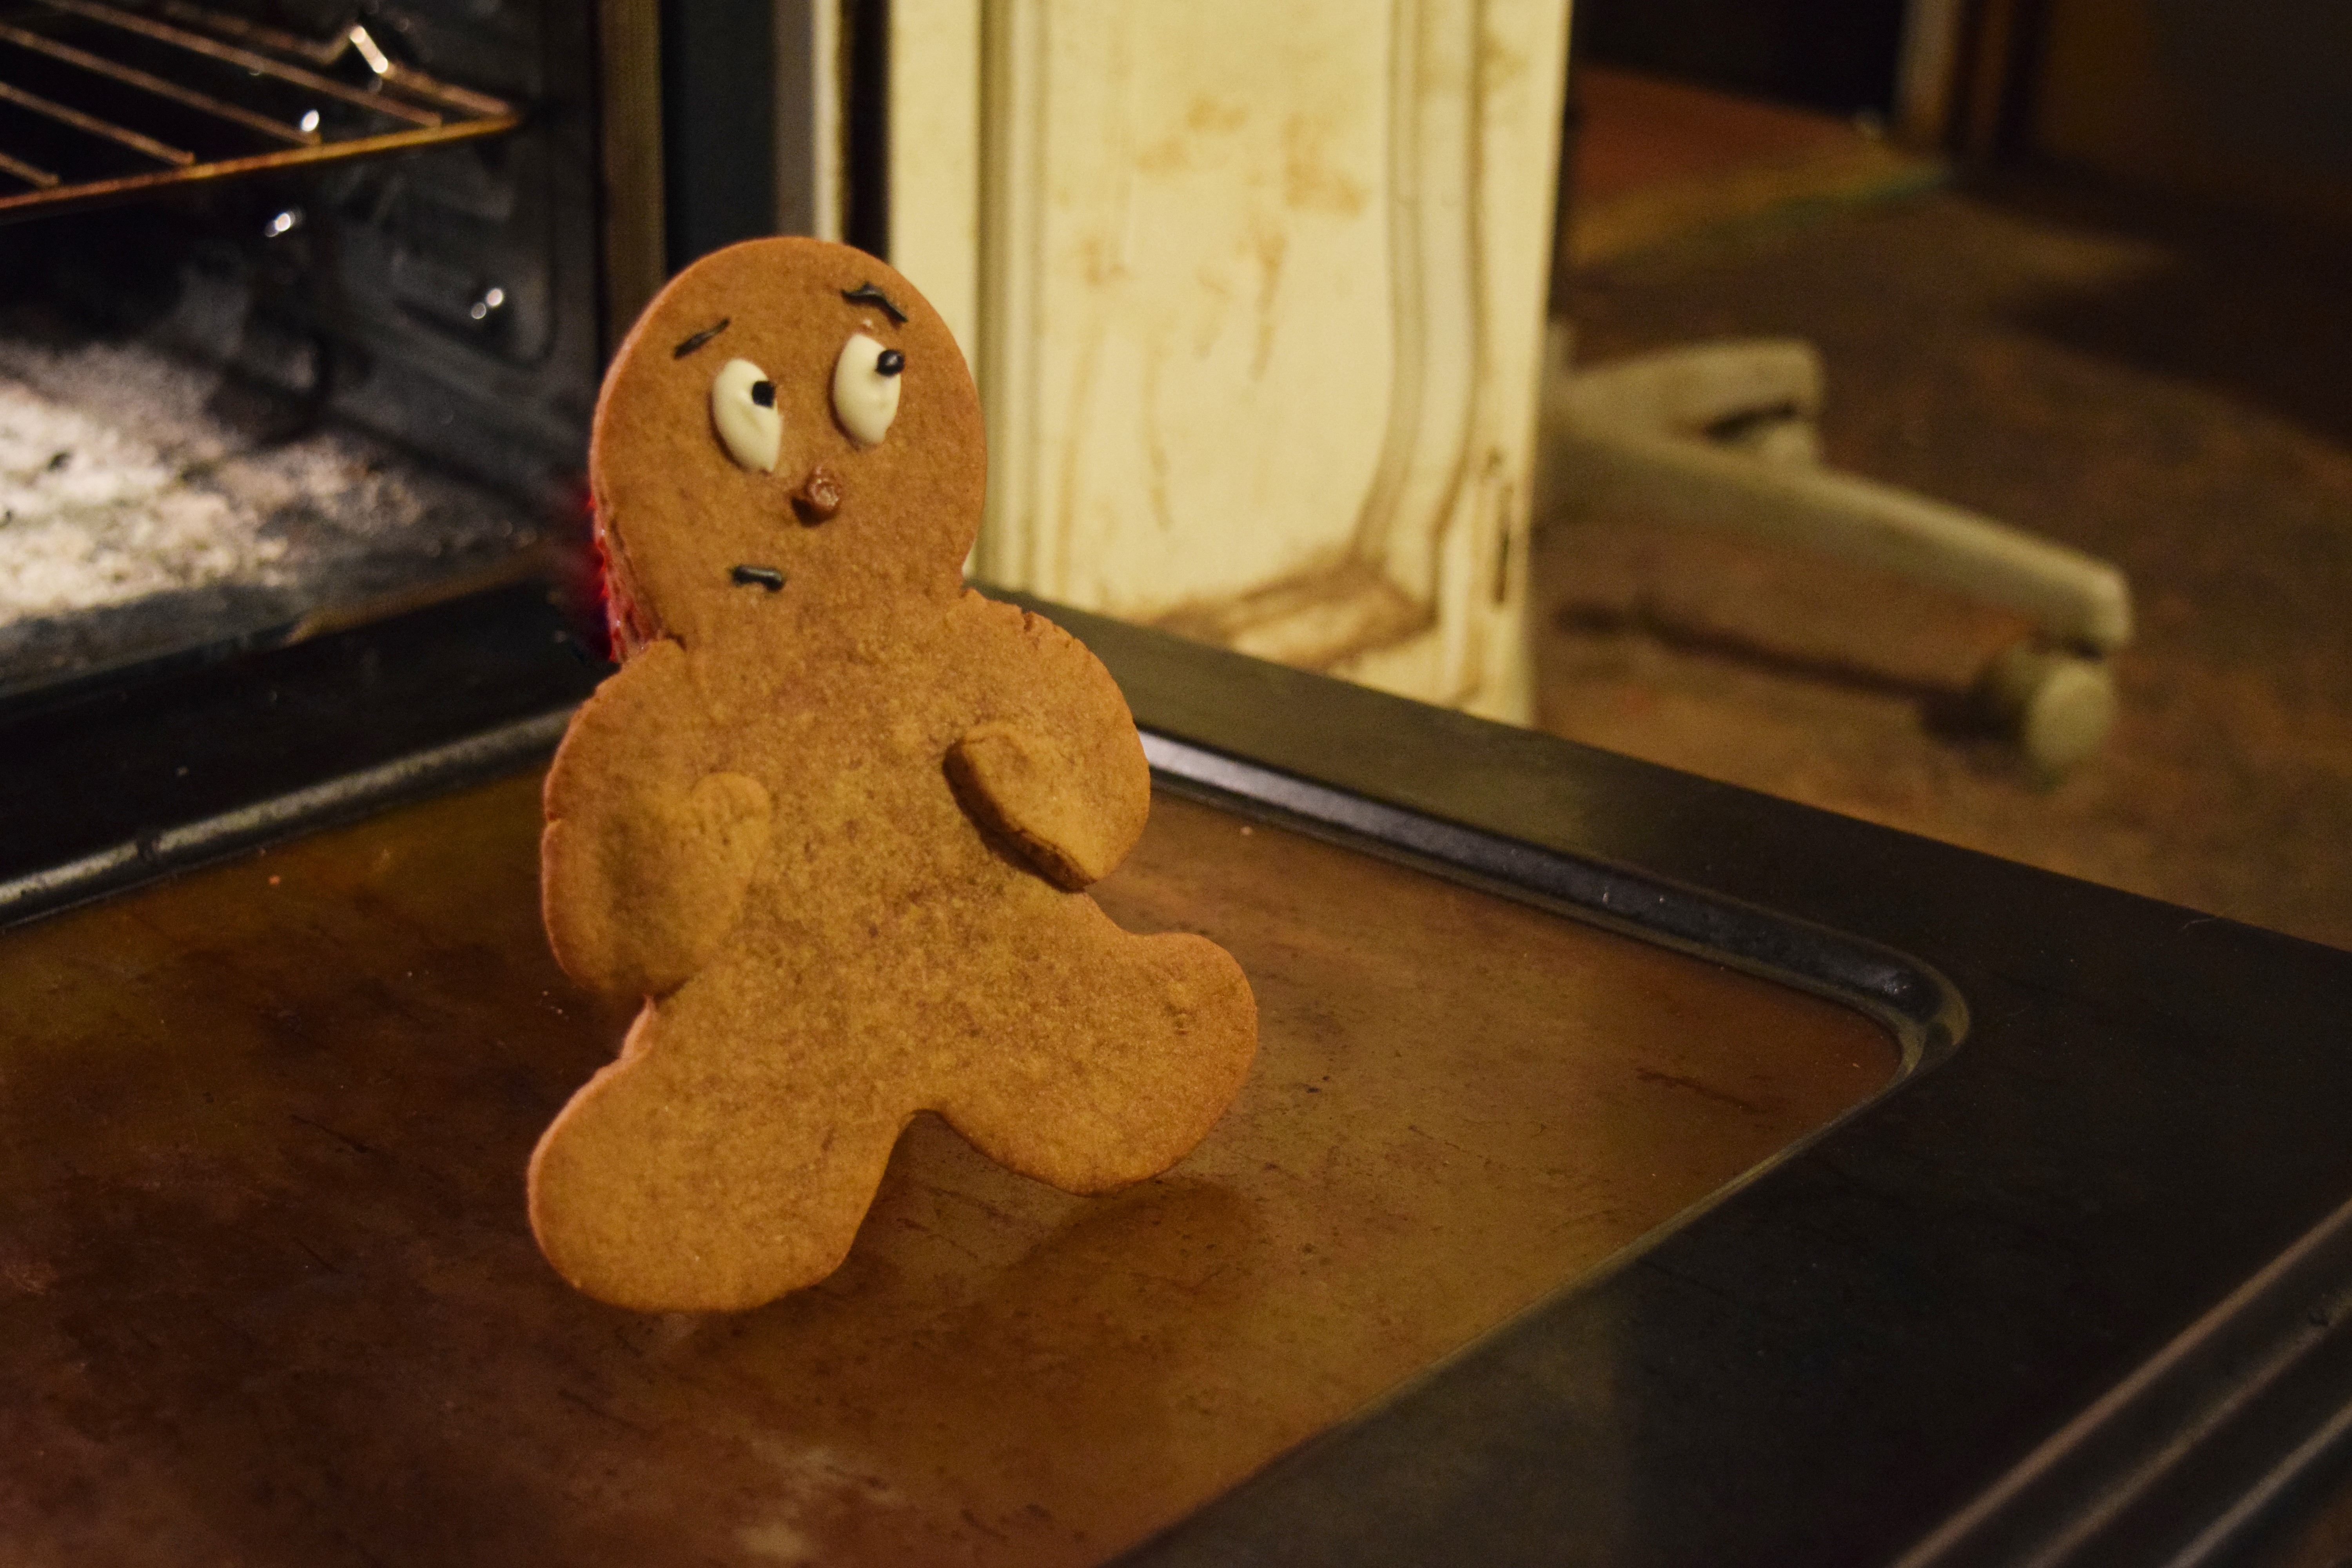
Transfer icing to piping bags and pipe features onto cooled cookies. You can also draw them on with a toothpick dipped in the icing. My gingerbread man has a simple face with a brown nose and small black mouth and eyebrows. Let the icing stand for just a minute to harden. Now they’re ready to eat!
When my grandparents decided to clean house and get rid of most of their videos, we were happy to snatch this tape up. It sits safely in my sister’s room and we still pop it in every now and then. With all the baking I do, I really hope that one of these days I’ll get to go on a magical dessert-themed adventure. My Gingerbread Man looks like he’s about to run off somewhere, but I think the only place I’ll be following him to is a glass of milk.
“I watch Peanuts videos with my mom and dad. I watch Peanuts videos with my dog.” Yeah, I’ve got that commercial down pat. (I watched a lot of Nickelodeon videos.) But I really do watch Peanuts with my family, dogs included. We all grew up on them and no matter how many times you’ve seen them, they’re still fun to watch. I’m a bit like Charlie Brown, (Who isn’t?) so I can easily see me serving a Thanksgiving dinner of nothing but snack foods. I can make more than cold cereal and toast, but if I’m in a pinch, who knows? I know a lot of people have made up Charlie Brown’s “dinner,” but I surprisingly never did.
Thanksgiving has always been such a hectic holiday for my family with multiple dinners. I’d get up and my mom would already be cooking. I’d help her out with whatever I could and we’d watch the Macy’s Thanksgiving Day Parade, then my local parade, then the National Dog Show. The cooking still wasn’t finished by then, but we’d already be late for dinner at my grandma and grandpa’s. Thanksgiving is all done at my house now, but that doesn’t make it any easier. I usually have store-bought bread, pretzels, jellybeans, and popcorn hanging around in my kitchen anyway, so maybe one of these days I’ll just snap and serve this instead.
Ingredients
Butter
Bag of pretzel sticks
Bag of jelly beans
2 pieces of bread
Or:
Bread for Toast:
2 cups warm water (105-115 degrees F)
1 tablespoon yeast
2 tablespoons sugar
1 teaspoon salt
5 cups bread flour
2 ½ tablespoons butter, cold, cut into chunks
Popcorn:
White popcorn kernels
¼ cup vegetable oil
Salt
Directions
Bread for Toast:
In a large bowl, dissolve yeast and sugar in the warm water. Let it rest for 5-10 minutes, or until foamy. Add the salt, flour, and butter and combine. Turn the dough out onto a lightly floured surface and knead for 10 minutes. Form the dough into a ball again and place in a large, clean bowl. Lightly coat dough with oil and cover bowl with plastic wrap. Let the dough rise in a warm place for 1 hour or until it has doubled in size. Punch down the dough and divide in half. Shape each half of the dough into an oval or loaf shape and place in greased loaf pans. Let the dough rise uncovered for another hour, or until doubled in size.
Preheat oven to 350 degrees F.
Bake loaves for 35-40 minutes. Place the pans on a cooling rack and let rest for 5 minutes. Turn the bread out and let rest on a rack until completely cooled. Cut into slices.
Popcorn:
Pour vegetable oil into a large pan or pot on medium heat. Place one kernel inside and cover. Once it pops, add enough kernels to cover the bottom of the pan. Cover and gently shake. When the popping stops, remove from heat. Season with salt to taste.
Putting It All Together:
Place two slices of bread in a toaster and toast until they’ve reached the desired doneness. Butter and stack on a plate. Surround with a handful each of pretzel sticks, jelly beans, and popcorn. You may now feast.
You want me to eat toast and snacks for Thanksgiving Dinner? Sure! I better whip up a sundae to wash it all down. Who needs the turkey, and the mashed potatoes, and the cranberry sauce, and the pumpkin pie? Thanksgiving isn’t about the food. It’s about the people you share it with.
Happy Thanksgiving!
I’m taking a break next week, so tune in next, next week for more Cartoon Cravings!
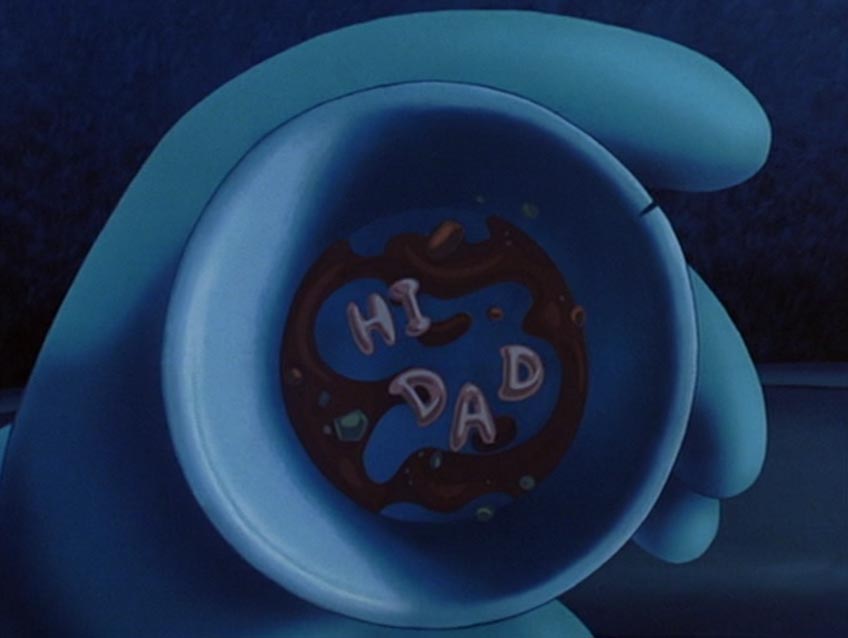
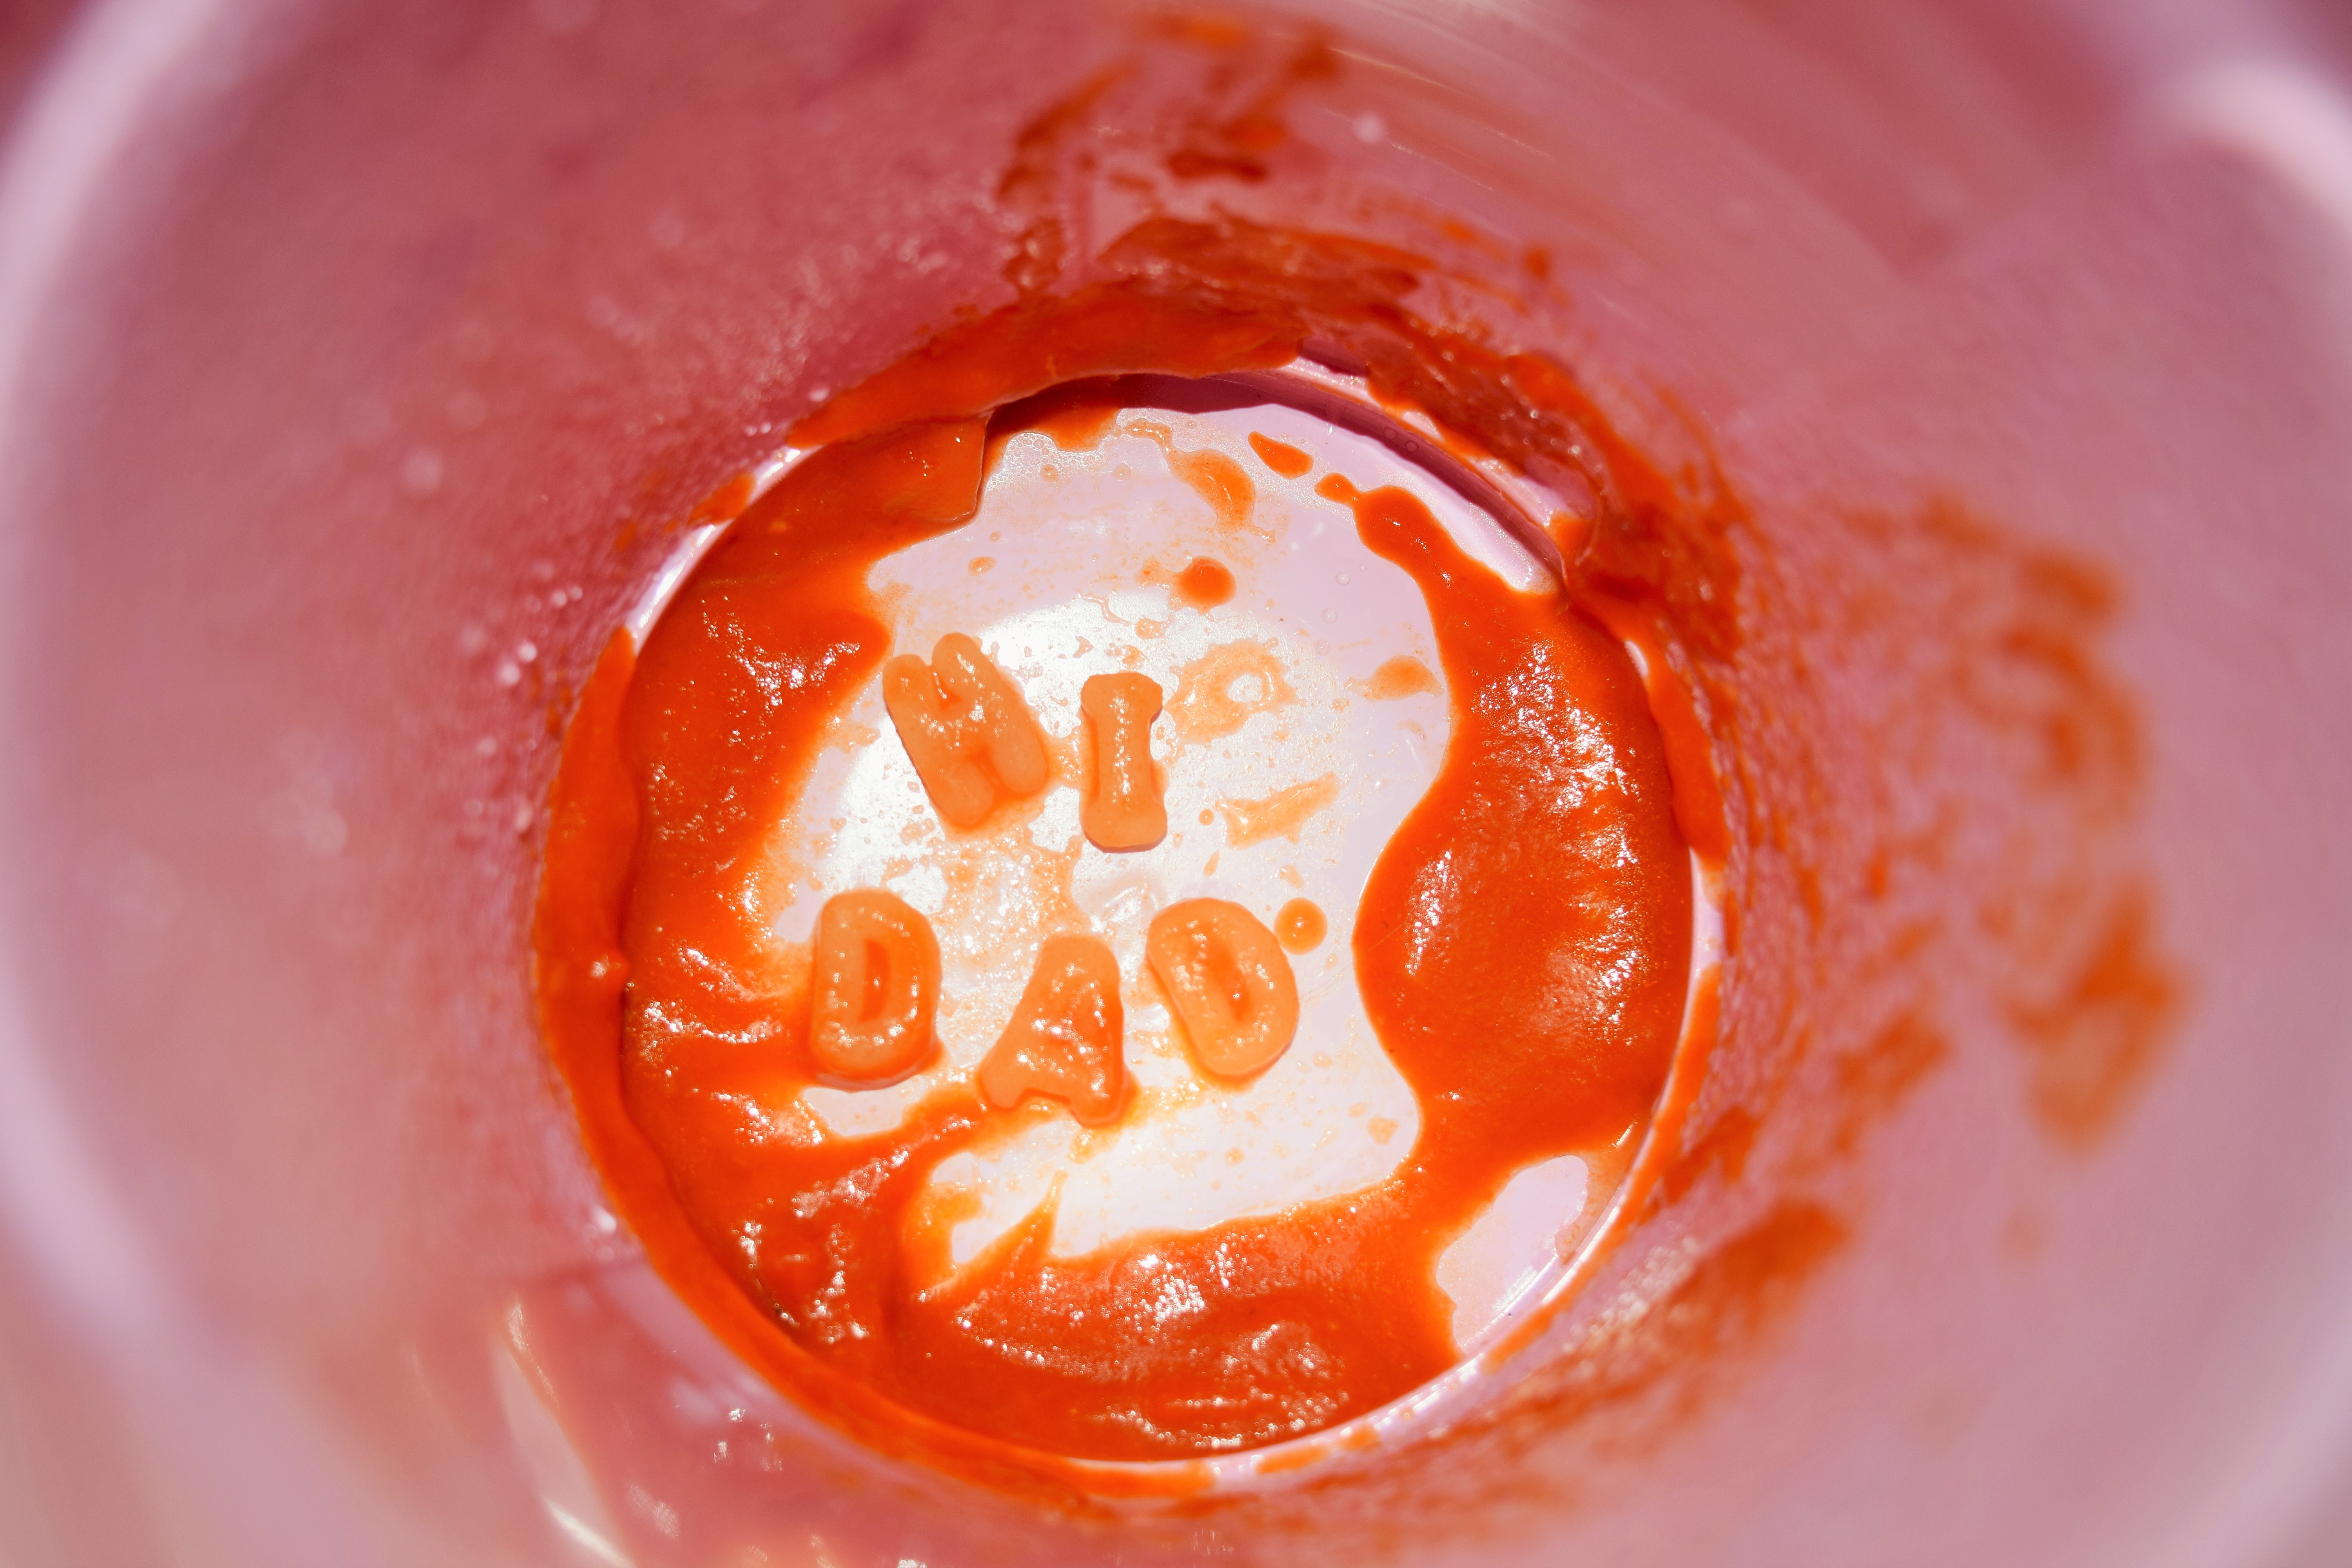
Even though we’re already drowning in Christmas ads, it’s still only November. You know, that month with that one holiday where we feel obligated to say what we’re thankful for. Hands down, for me it’s my family. They drive me crazy sometimes, but there’s nobody else I’d rather go down with. And I don’t tell them how much they mean to me as much as I should. It’s not like I really have to come out and say it though. It’s in the little things I do. Like spelling out a message in some soup that says, “I love you,” or maybe just, “Hi, Dad.”
Is this all ringing a bell? Sounds just like Max, right? I’ve never been as much of a jerk as he is, though. Goofy’s his dad and he doesn’t appreciate him! No, I get it. Families disconnect all the time. You let so many other things get in the way that you lose sight of what’s truly important. All it takes is something like sharing a can of soup to make you realize that. I guess having Bigfoot trash your camp and trap you in your car helps too.
Recipe makes 8 servings.
Ingredients
½ an onion, chopped
4 cloves garlic, minced
2 tablespoons olive oil
3 tablespoons tomato paste
2 tablespoons butter
1 can (28oz) whole or chopped tomatoes
6-6 ½ cups chicken broth
1 bay leaf
1-2 tablespoons sugar
½ tsp salt
½ tsp white pepper
½ cup heavy cream, optional
1-1 1/2 cups uncooked alphabet noodles
Directions
Heat olive oil in a large pot over medium-low heat. Add the onion and cook until softened, 5-10 minutes. Add garlic and cook for 30 seconds. Add the tomato paste and butter. Stir until butter has melted and tomato paste begins to brown. Add tomatoes, chicken broth, bay leaf, sugar, salt, and pepper. Simmer for 20 minutes. Remove bay leaf and puree in batches or with an immersion blender. Add cream and additional seasoning if needed. Boil the pasta according to the directions on the box, drain, and stir into soup. Or add uncooked pasta to the soup and simmer until fully cooked, 10-15 minutes. Serve and enjoy!
Ah, both this soup and A Goofy Movie make me feel all warm and fuzzy inside. It must be the power of good food and good memories. Hmm, kind of what Thanksgiving is all about. As for Max and Goofy, it didn’t instantly fix their problems, (Max still went and changed the map.) but it got them on the road to seeing it I 2 I.
Saturday Morning Cartoons were a way of life for me. My mom tended to have trouble getting me up for school, but on Saturdays, I’d be up before the sun. No alarm clock needed. I needed the time to come up with a plan of TV attack because there were so many channels with great Saturday Morning line-ups. No matter what order I chose, I always stopped in at Fox Kids to get my scare on with something “spooky” like Toonsylvania. I call it the red-headed stepchild of the “Steven Spielberg Presents” Family because it’s smart, funny, and educational like the others, but it doesn’t get the recognition it deserves. (Like a DVD! Come on DreamWorks!) And that’s a crying shame because a cartoon about Dr. Vic Frankenstein and his gang, charming dead families, bratty girls who get what they deserve, and the demon dolls, weregrannies, and boogeymen that come along with them is something that everyone should have in their lives.
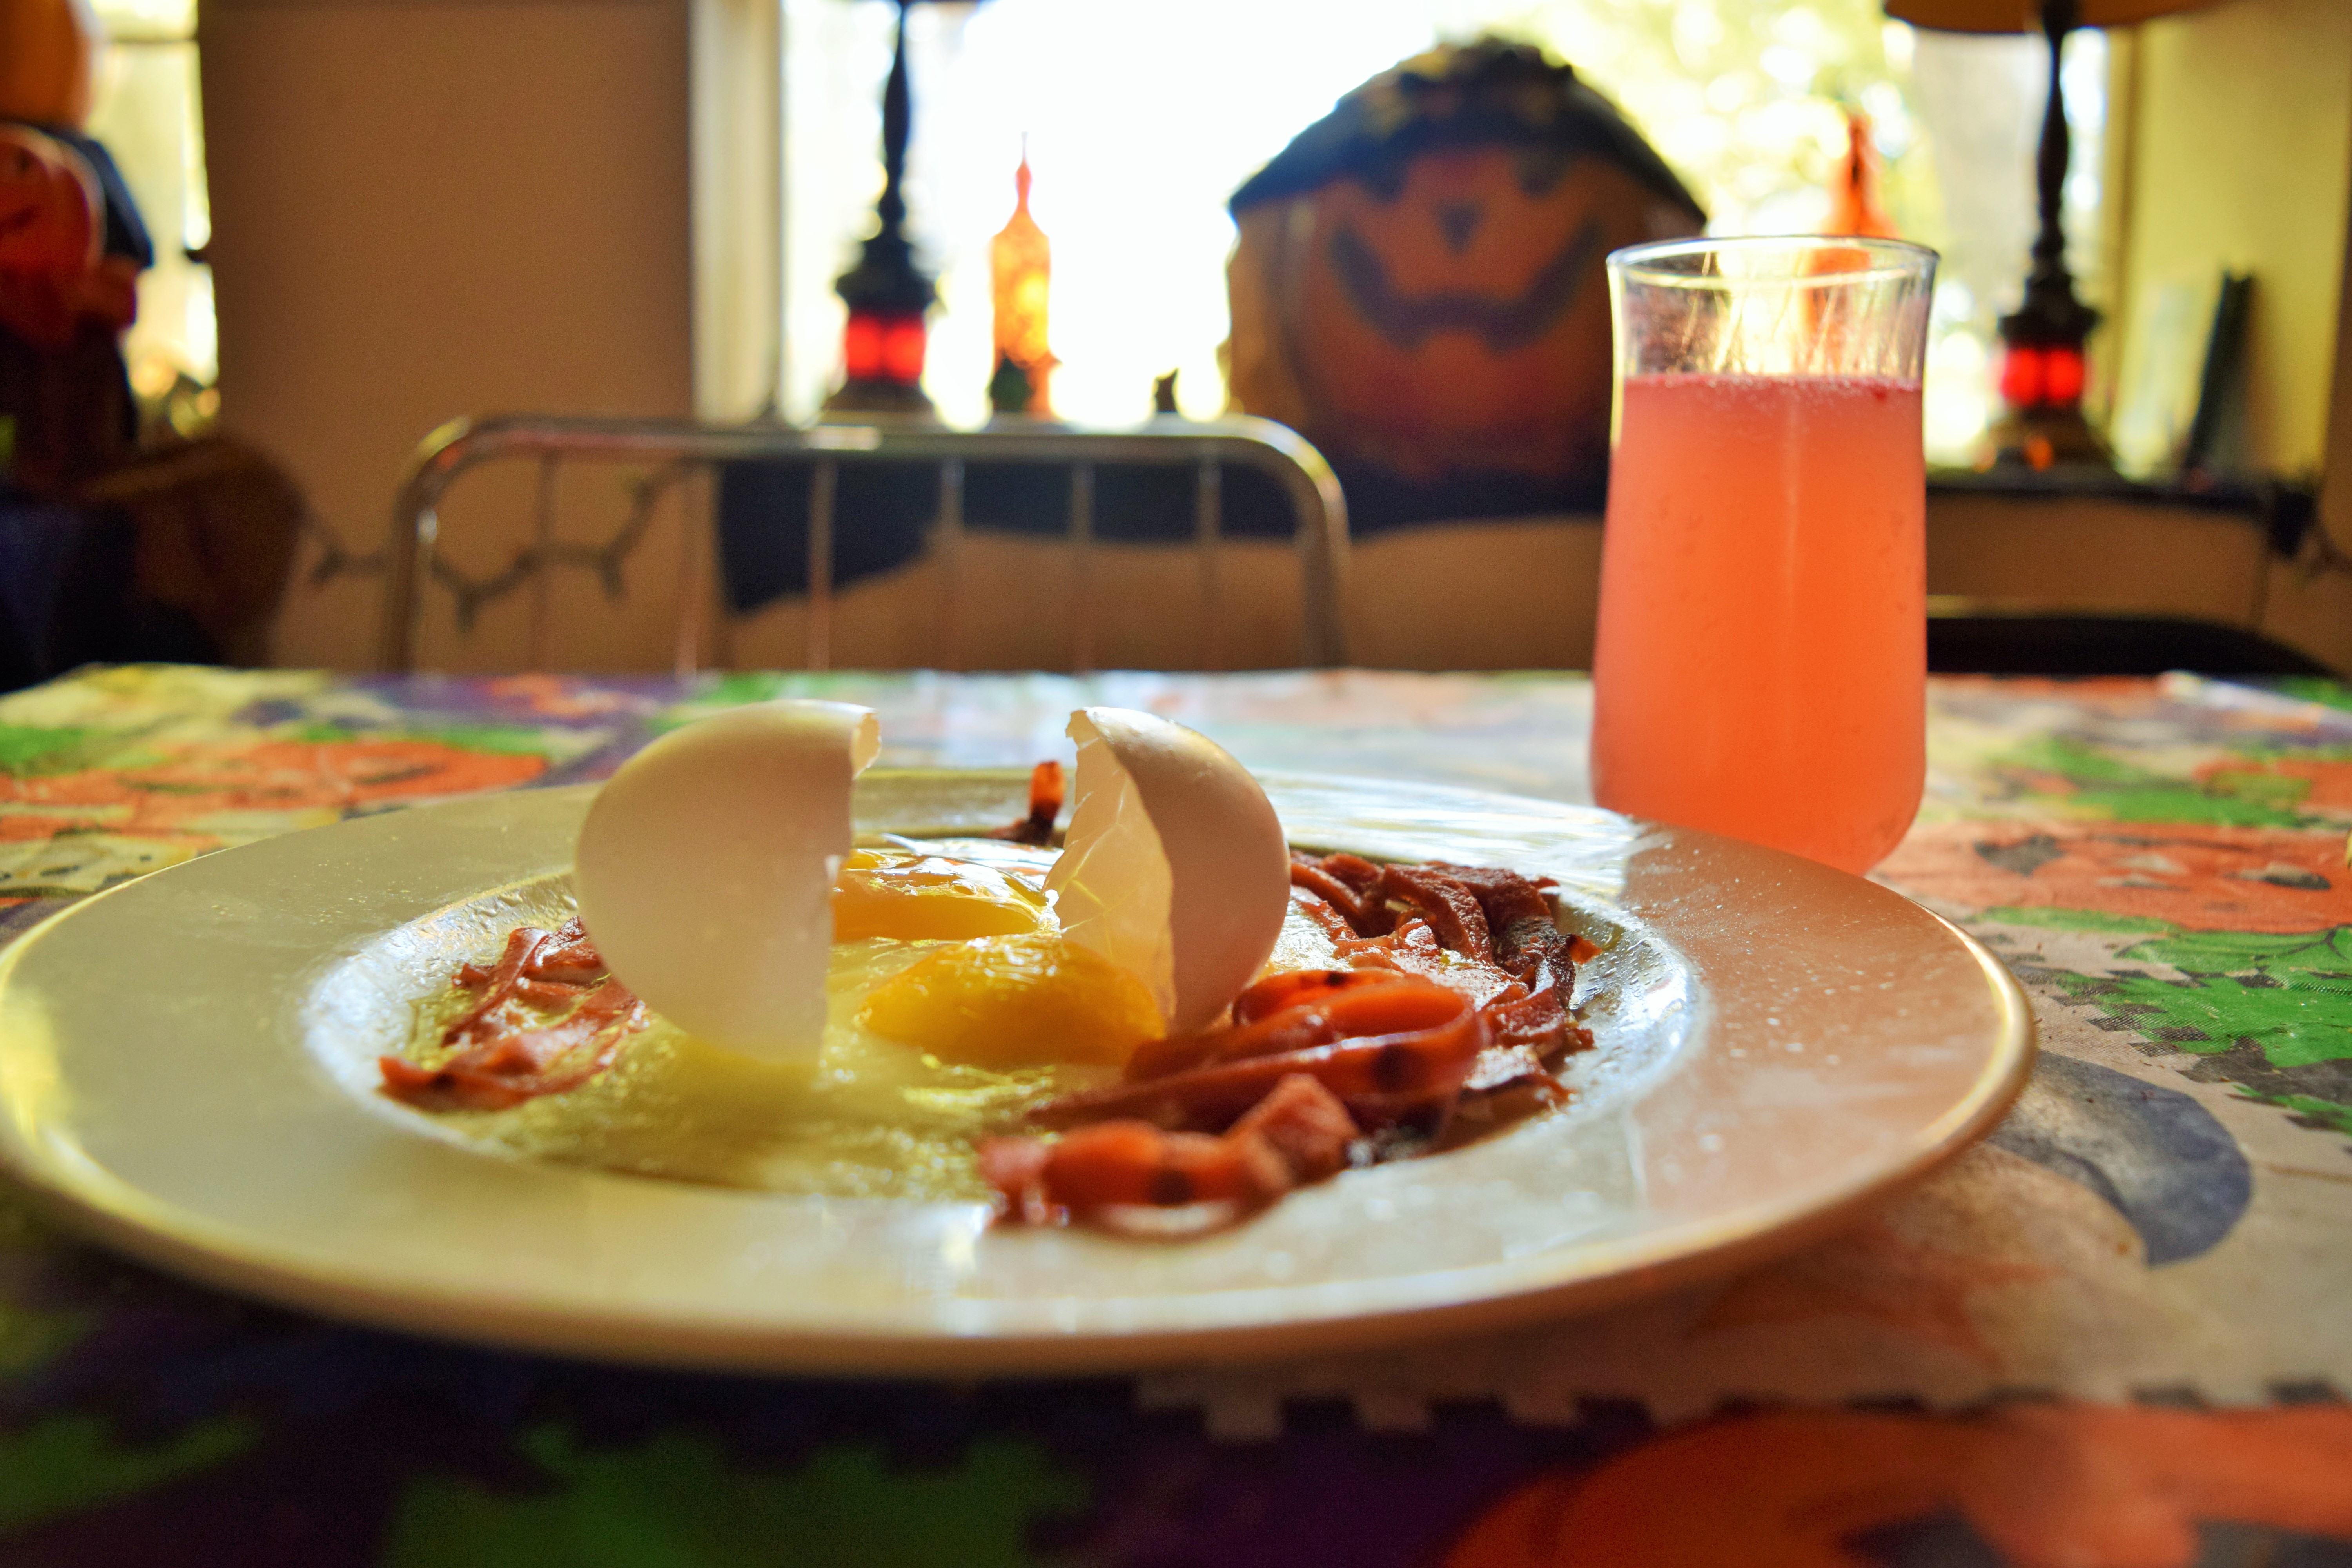
On more than one occasion, I’ve wished my family could be more like the Deadmans. They are super cheerful, optimistic, and easy-going. They’re the perfect family. Except for that whole being expired thing, but that can’t keep them down. So my Saturday morning meal usually consisted of a bowl of cereal or some kind of snack food that I really shouldn’t have been eating for breakfast. The Deadmans however, start their day more like a typical family and eat a nice, hearty breakfast. Fred’s favorite happens to be worms and curdled eggs. And his mom cooks them in the microwave. Yeah, that’s making my mouth water too.
Recipe makes 1 serving.
Ingredients
1 teaspoon butter
2 eggs
1 hotdog
Salt
Pepper
Directions
Cut hotdog into long, thin strips or take a vegetable peeler to it. Heat a microwave safe plate in your microwave for 2 minutes. Swirl butter around on the plate until it completely melts. Carefully crack your eggs directly onto the plate. Take the tip of a knife or a skewer and pierce the top of the yolks, being careful not to tear them. This will allow steam to escape, so the eggs don’t explode. Spread your wormy hotdog bits around the plate and place it back in the microwave. Cook for 1 minute. If they aren’t done, continue to cook in 15 second increments until they are just about at your desired doneness. Season the eggs with salt and pepper and let sit for 1 minute. Now you’re ready to eat.
Cooking eggs in the microwave is new to me, but I’d have to say I’m a fan. It’s perfect if you don’t have a whole lot of time on your hands in the morning. I wish I had done this as a kid. It would’ve been perfect to do during Saturday morning commercial breaks. And the whole worm thing is fun when you’re looking for something a little wacky or creepy to eat. Like on Halloween, when your food gets to be in costume too.
Who wouldn’t want the Grim Reaper to be his/her best friend forever? You get to pal around with the master of the forces of life and death. And in Billy and Mandy’s case, you get to boss him around. Talk about power. You also get to encounter all sorts of monsters and magic that most people don’t even know exist. I can see how that can lead to trouble pretty quickly. Just look at Billy and the whole Chocolate Sailor debacle. He becomes so addicted to the chocolate he’s supposed to be selling that he becomes solid chocolate and eats himself.
It’s sad to say, but that would probably happen to me too because I like chocolate! I’ve just about taken out my dad over the stuff. Just like Billy. I’m not proud of it, but I just can’t stop. If the Chocolate Sailor offered me an assortment of enchanted chocolates, I’d have to try them all. So just in time for Halloween, here’s an assortment that you can eat all of without exploding into a big, chocolatey mess.
Ingredients
1 pound milk chocolate, coarsely chopped or melting wafers
1 pound dark chocolate, coarsely chopped or melting wafers
2 pounds white chocolate, coarsely chopped or melting wafers
Light green food coloring
Caramel
1 cup sugar
¼ cup light corn syrup
¼ cup water
½ cup heavy cream, room temperature
4 tablespoons butter, room temperature- cut into chunks
½ teaspoon salt
Buttercream
¼ cup (half stick) butter, room temperature
¼ cup shortening
1 teaspoon vanilla extract
2 cups (half pound) powdered sugar, sifted
Chocolate Hazelnut Spread
1 cup hazelnuts, skinned
3 tablespoons sugar
12 ounces semisweet chocolate, chopped
2 tablespoons vegetable oil
1 tablespoon unsweetened cocoa powder
½ teaspoon vanilla extract
3/4 teaspoon salt
Marshmallows
1 ½ packets of unflavored gelatin
½ cup cold water, divided
½ cup light corn syrup
¾ cup sugar
1/8 teaspoon salt
1 teaspoon vanilla extract
¼ cup powdered sugar, sifted, plus more if needed
Peanut Butter Filling
1 ½ cups peanut butter
3 tablespoons butter
2 cups powdered sugar, sifted
Or 1 package caramels
1 container buttercream
1 jar chocolate hazelnut spread
1 package marshmallows
Directions
Caramel:
Grease and line an 8 inch baking dish with parchment paper.
In a saucepan, combine sugar, corn syrup, and water. Place over high heat and stir until sugar has dissolved. Attach a candy thermometer to the side of the pan and cook until the mixture reaches 230 degrees F. Reduce heat to medium and cook, without stirring, until the syrup mixture is golden. When the syrup reaches close to 300 degrees F, gently stir. Continue to cook until the syrup turns dark amber and closes in on 350 degrees F. Remove from the heat, stir, and let sit for a couple minutes. Slowly add heavy cream, butter, and salt. The mixture will bubble, so be careful. Return the saucepan to the stove and stir until the butter is completely melted. Cook over medium heat until it reaches 255 degrees F. Take off the heat and pour into a prepared pan. Tap the pan to remove bubbles and place on a cooling rack. Let sit for about 4 hours and cut into pieces. (If you plan on making your chocolates right away, you can just leave your caramel in the saucepan and just allow it to cool slightly.)
Buttercream:
In a stand mixer, beat butter and shortening until fluffy. Add vanilla extract. Beat powdered sugar in, a little at a time. Scrape down sides of the bowl and add milk. If the icing is too thick, add more milk, ½ teaspoon at a time.
Chocolate Hazelnut Spread:
Preheat oven to 350 degrees F.
Place hazelnuts on a baking sheet and toast for 15 minutes, or until deep brown. Let cool.
Grind hazelnuts and sugar in a food processor for about 1 minute, or until smooth. Melt chocolate in a bowl over a saucepan of simmering water and let cool. Add vegetable oil, cocoa powder, vanilla extract, and salt to hazelnut paste and process until smooth. Add the melted chocolate and combine. Strain if there are excess hazelnut chunks. Let cool completely to thicken.
Marshmallows:
Lightly grease an 8 X 8 baking dish with nonstick cooking spray. Dump powdered sugar into the dish and swirl it around until the bottom and sides are completely coated. Shake excess powdered sugar into a bowl for later use.
Pour gelatin and 1/4 cup of cold water in the bowl of a stand mixer equipped with the whisk attachment. While the gelatin is blooming, combine the remaining 1/4 cup of water, corn syrup, sugar, and salt in a small saucepan. Place the saucepan over medium high heat and cook until the sugar has dissolved. Attach a candy thermometer to the pan and continue to cook, without stirring, until it reads 240 degrees F. Immediately take the syrup off the heat. With the mixer on low, pour the syrup into the gelatin. When all of the syrup is in the bowl, increase the mixer’s speed to high. Whip the mixture until it’s thick, about 12 minutes. Add the vanilla extract during the last minute of whipping.
Pour the marshmallow into the prepared pan and spread evenly with a lightly greased spatula. Things may get messy! Sprinkle some of the remaining powdered sugar over the marshmallow to completely cover the top. Let the marshmallow completely rest until firm, about 4 hours. (If you plan on making your chocolates right away, you can spread the marshmallow into your molds before it fully sets.)
Turn out marshmallow onto a cutting board. With a lightly greased knife or pizza cutter, cut into marshmallows. I usually aim for 2-inch squares. Roll the marshmallows into the rest of the powdered sugar to coat all sides.
Peanut Butter Filling
Add peanut butter, butter, and powdered sugar in a stand mixer and beat on medium-low speed until combined.
Putting It All Together:
Caustic Caramel Cream:
Melt half of the white chocolate in a double boiler or a bowl over a pot of simmering water. Stir in a small amount of light green food coloring. Spoon a small amount of chocolate into the chocolate molds of your choice and swirl around. Use a small paintbrush or similar tool to ensure that chocolate covers the entire mold. Dump excess chocolate back into the bowl. Let the chocolate set.
Melt caramel and 2 tablespoons milk in a saucepan. Spread caramel and then buttercream in the mold, leaving enough room to encase it in chocolate. Pour more colored white chocolate on top to seal in caramel and buttercream. Tap mold on the counter to remove bubbles. Let chocolate completely set. Remove from mold.
Horrific Hazelnut:
Melt milk chocolate in a double boiler or a bowl over a pot of simmering water. Spoon a small amount of chocolate into the chocolate molds of your choice and swirl around. Use a small paintbrush or similar tool to ensure that chocolate covers the entire mold. Dump excess chocolate back into the bowl. Let the chocolate set. Spread chocolate hazelnut spread in the mold, leaving enough room to encase it in chocolate. Pour more chocolate on top to seal in spread. Tap mold on the counter to remove bubbles. Let chocolate completely set. Remove from mold.
Mutating Marshmallow:
Melt dark chocolate in a double boiler or a bowl over a pot of simmering water. Spoon a small amount of chocolate into the chocolate molds of your choice and swirl around. Use a small paintbrush or similar tool to ensure that chocolate covers the entire mold. Dump excess chocolate back into the bowl. Let the chocolate set.
Melt marshmallows either in a small saucepan or in the microwave. Spread marshmallow in the mold, leaving enough room to encase it in chocolate. Pour more chocolate on top to seal in marshmallow. Tap mold on the counter to remove bubbles. Let chocolate completely set. Remove from mold.
Antidote:
Melt the other half of the white chocolate in a double boiler or a bowl over a pot of simmering water. Spoon a small amount of white chocolate into the chocolate molds of your choice and swirl around. Use a small paintbrush or similar tool to ensure that chocolate covers the entire mold. Dump excess chocolate back into the bowl. Let the chocolate set. Spread peanut butter filling in the mold, leaving enough room to encase it in chocolate. Pour more white chocolate on top to seal in filling. Tap mold on the counter to remove bubbles. Let chocolate completely set. Remove from mold.
Variations:
Whenever I make candy, I try to make it worth my while. I just whip up a bunch of stuff and make candy until I run out of ingredients. You can easily make more or less of anything by halving or doubling any of the recipe.
Antidote doesn’t have a specific flavor, so I made what I wanted. I wanted peanut butter, but you can fill it with whatever you want or not fill it at all.
Although I have a ton of candy molds, nothing comes close to the big-mouthed monster looking things in the enchanted chocolate assortment. I used skeletons because they were on hand, but you can use whatever molds you want. If you don’t want to make them in molds, you can put the candy together in a parchment lined pan and cut them into bars.
Now we’ve got an army of enchanted chocolates minus the enchantment part. As hard as I tried, I still ended up a big chocolatey mess. At least I’m still human. I think. So maybe I haven’t learned my lesson yet. Enough chocolate induced stomach aches and I’ll change my ways. Either that or someone gets me an issue of Man Eating Comics.
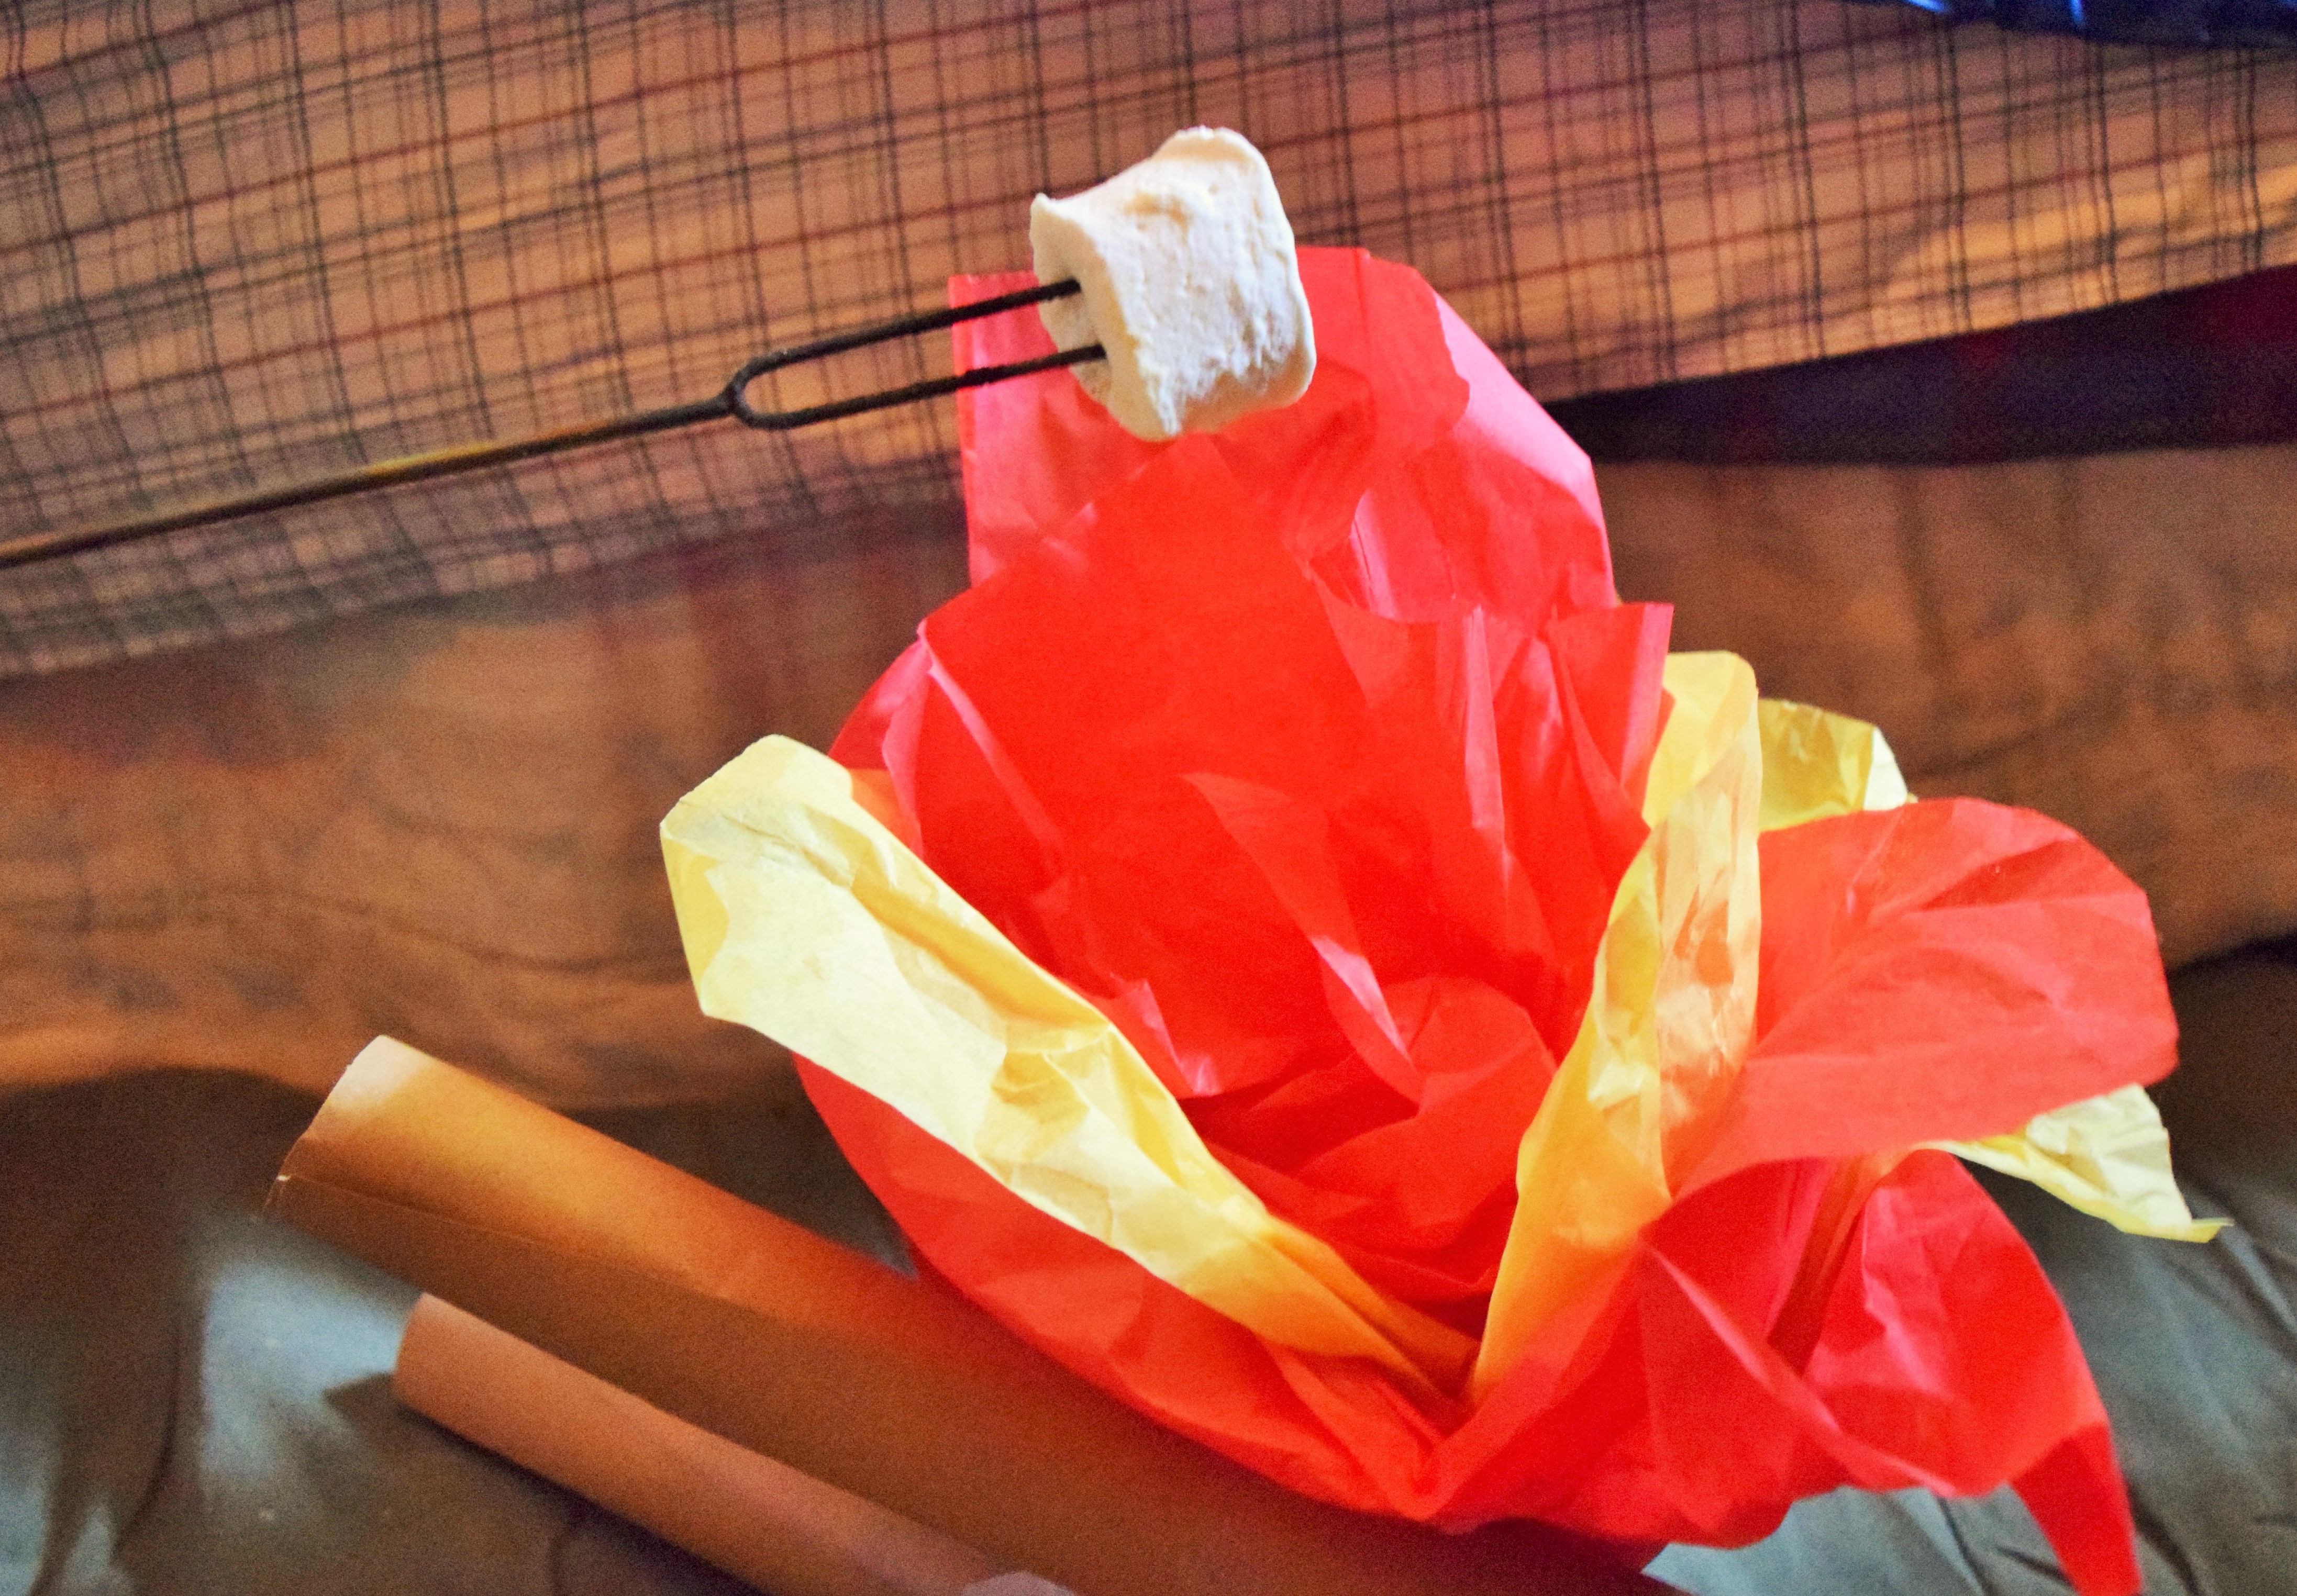
Can you believe it’s actually October? Now every TV channel is going to have nothing but movies with vampires, and monsters, and baby ducks! I’m kicking off my very own 31 Nights of Halloween with none other than Scared Silly. I’m a fraidy cat like Grimace and Sundae, so this is a good way to ease into the month of horror. This is also my top video in the Wacky Adventures series and I watch it every chance I get. My sister and I wait for weather that’s perfect for a campout (dark and stormy in our case), so we can “set, set, set, set, set, set, set up camp” in the living room, tent and fake fire included.
Usually we just eat McDonald’s when we watch it, but it gets kind of awkward when you realize you’re eating part of the cast. A safe bet and something no camping trip is complete without are marshmallows. Nothing beats a campfire roasted marshmallow and fresh ones are so good, I stopped buying packaged ones months ago.
Recipe makes 25 marshmallows or more, depending on how you cut them.
Ingredients
3 packets of unflavored gelatin
1 cup cold water, divided
1 cup light corn syrup
1 ½ cups sugar
¼ teaspoon salt
2 teaspoons vanilla extract
½ cup powdered sugar, sifted, plus more if needed
Directions
Lightly grease an 8 X 8 baking dish with nonstick cooking spray. Dump powdered sugar into the dish and swirl it around until the bottom and sides are completely coated. Shake excess powdered sugar into a bowl for later use.
Pour gelatin and ½ cup of cold water in the bowl of a stand mixer equipped with the whisk attachment. While the gelatin is blooming, combine the remaining half cup of water, corn syrup, sugar, and salt in a small saucepan. Place the saucepan over medium high heat and cook until the sugar has dissolved. Attach a candy thermometer to the pan and continue to cook, without stirring, until it reads 240 degrees F. Immediately take the syrup off the heat. With the mixer on low, pour the syrup into the gelatin. When all of the syrup is in the bowl, increase the mixer’s speed to high. Whip the mixture until it’s thick, about 12 minutes. Add the vanilla extract during the last minute of whipping.
Pour the marshmallow into the prepared pan and spread evenly with a lightly greased spatula. Things may get messy! Sprinkle some of the remaining powdered sugar over the marshmallow to completely cover the top. Let the marshmallow completely rest until firm, about 4 hours.
Turn out marshmallow onto a cutting board. With a lightly greased knife or pizza cutter, cut into marshmallows. I usually aim for 2-inch squares. Roll the marshmallows into the rest of the powdered sugar to coat all sides. Store in an airtight container or get your bonfire on!
Variations: Instead of making squares, you can pour or pipe out the unset marshmallow into prepared silicone molds. You can also cut out shapes from the finished marshmallow with cookie cutters. If you don’t want to use as much powdered sugar, you can substitute any amount of it with cornstarch.
As nutty as it may sound, McDonald’s holds a very special place in my heart. Growing up, my grandparents would take all five of us grandkids to the same McDonald’s almost every single day. Ronald is practically a member of my family. I’m not as much of a go-getter as he is, but I think I can hold my own against Franklin and his little game. I’ve got my marshmallows, my “tent in a flashlight,” and my dog who’s seriously nicknamed Sundae. If anyone needs me, I’ll be out in the Farflung Forest.
Happy Fall! This time of year has always been my favorite because it’s the “Goldilocks’ Standard” of the seasons. It’s just right! Plus there’s that little spooky feeling floating in the air. It’s the perfect time to sit around a campfire and scare the snot out of each other with stories about Sinbad getting another TV show. Oh, you don’t do that? Well, surely you must talk about Candle Jack? You know, the for real boogeyman guy with the bag on his head? Yeah, that guy. He’s one of my top Freakazoid! villains. (The Lobe wins out by a smidge.) When I was younger, I used to call him Candle Blank, so he couldn’t spirit me away, even though I thought it might be kind of fun. He’s just so gosh darn adorable!
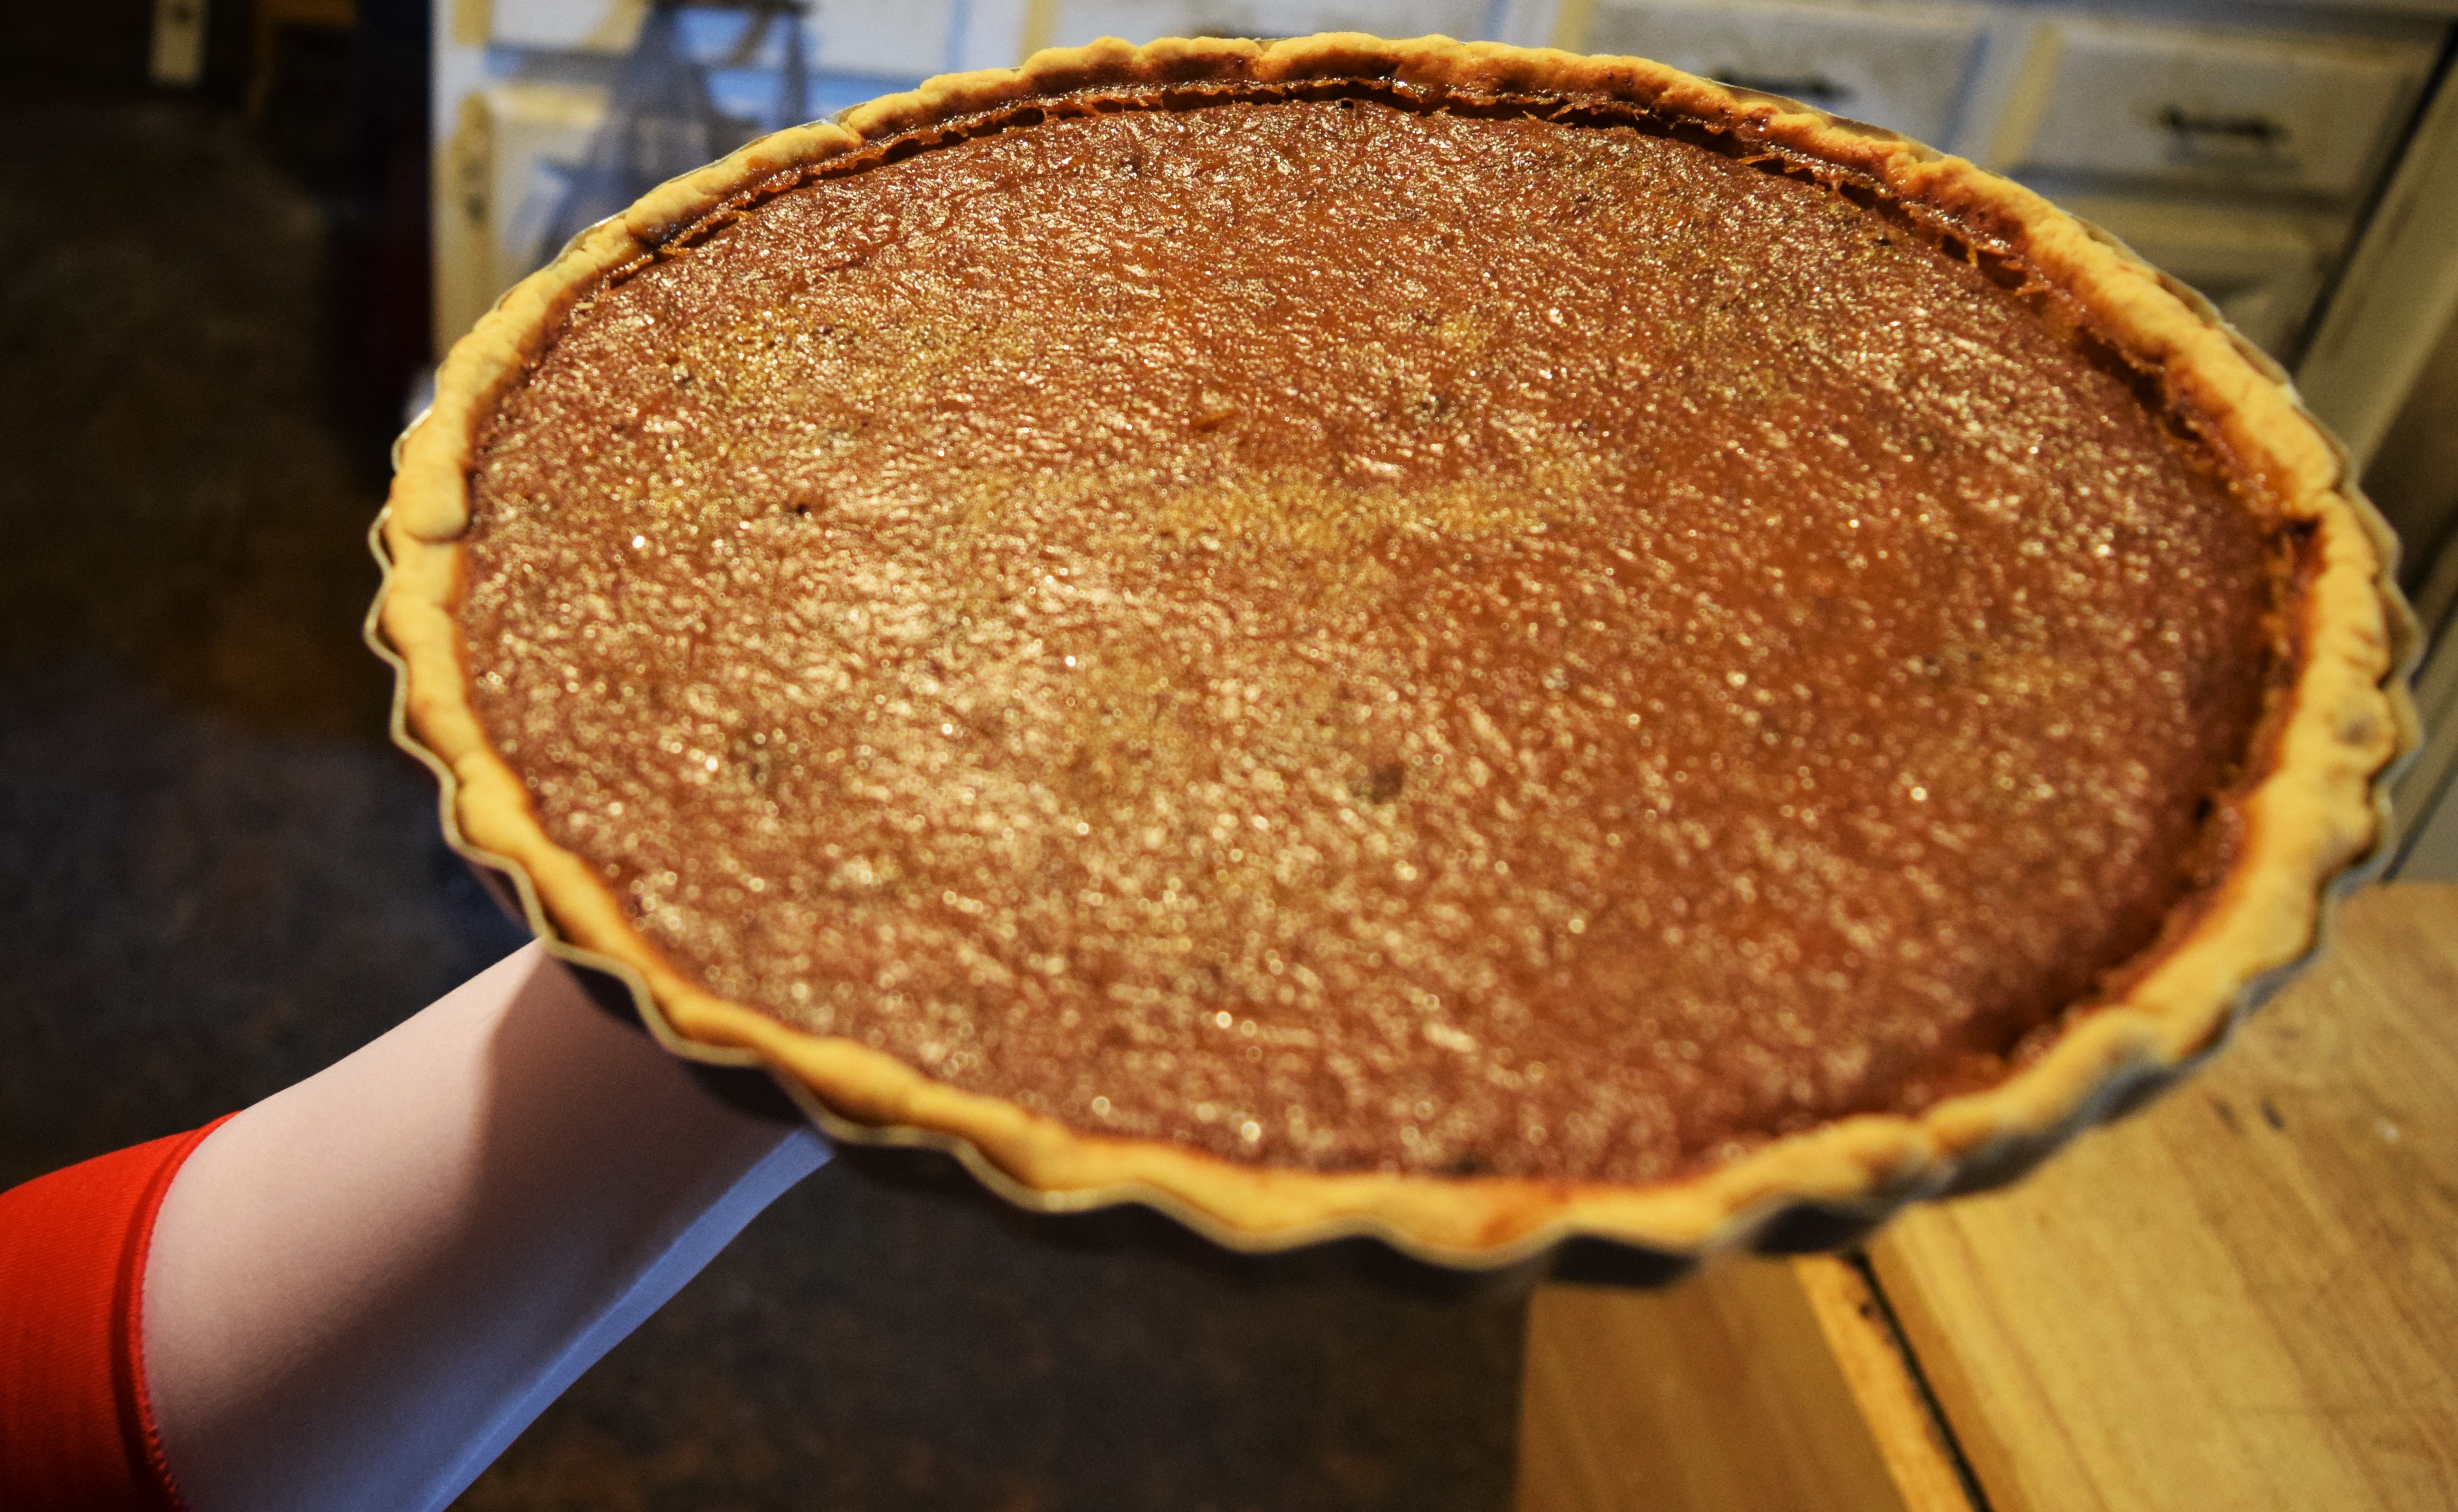
And one thing that goes hand in hand with Fall and Candle Jack is perfectly plump pumpkin pie. That’s his weakness. Out of everything in the entire universe, that’s his weakness. How can you not like the guy? Just like the show. It’s so stupidly funny, that I still bust a gut whenever I think about it. My parents just stop and stare and wonder what on earth is wrong with me. Even I don’t know the answer to that, but I better take it easy on the laughter or I won’t be able to enjoy this pie.
Recipe makes one 9-inch pie.
Ingredients
Crust:
1 ¼ cups flour
½ teaspoon sugar
½ teaspoon salt
½ cup (1 stick) butter, cold and cut into chunks
2 tablespoons ice water, plus 1 or 2 more tablespoons if needed
Filling:
2 cups fresh (cooked and mashed) or canned pumpkin
¾ cup brown sugar
2 large eggs
1 large egg yolk
2 tablespoons molasses
1 ½ cups half-&-half
1 teaspoon cinnamon
½ teaspoon freshly ground nutmeg
½ teaspoon freshly grated ginger
Directions
Crust:
In a food processor, pulse flour, sugar, and salt until combined. Add butter and pulse until mixture resembles coarse crumbs. Add 2 tablespoons of ice water and pulse until dough just comes together when pressed. If the dough is too dry, add more ice water, 1 tablespoon at a time, and pulse again. Form dough into a disk and cover in plastic wrap. Let dough chill until firm, 30 minutes to an hour.
Filling:
In a large mixing bowl, beat eggs, egg yolk, and brown sugar until smooth. Beat in pumpkin and molasses. Add cinnamon, nutmeg, and ginger. Gradually stir in half-&-half.
Putting It All Together:
Preheat oven to 450 degrees F.
Unwrap dough and place on a lightly floured surface. Roll out dough anywhere from 10 to 14 inches across and place in a pie tin. Gently press dough into place. Trim excess dough or fold it back on itself. Crimp edge for a more decorative look.
Pour filling into pie crust. Bake for 15 minutes. Reduce heat to 350 degrees and bake for 1 hour, or until skewer inserted in it comes out clean. Cool pie on a wire rack for 2 hours. Refrigerate or serve it up!
This pumpkin pie is definitely something to scream about. A happy kind of scream. Not a scary, Scream-O-Vision type. Forget the steel, mortar, and bricks. All you need to catch me is the pie. I’ll even go along willingly. And now you know the rest of the blog. Good day!
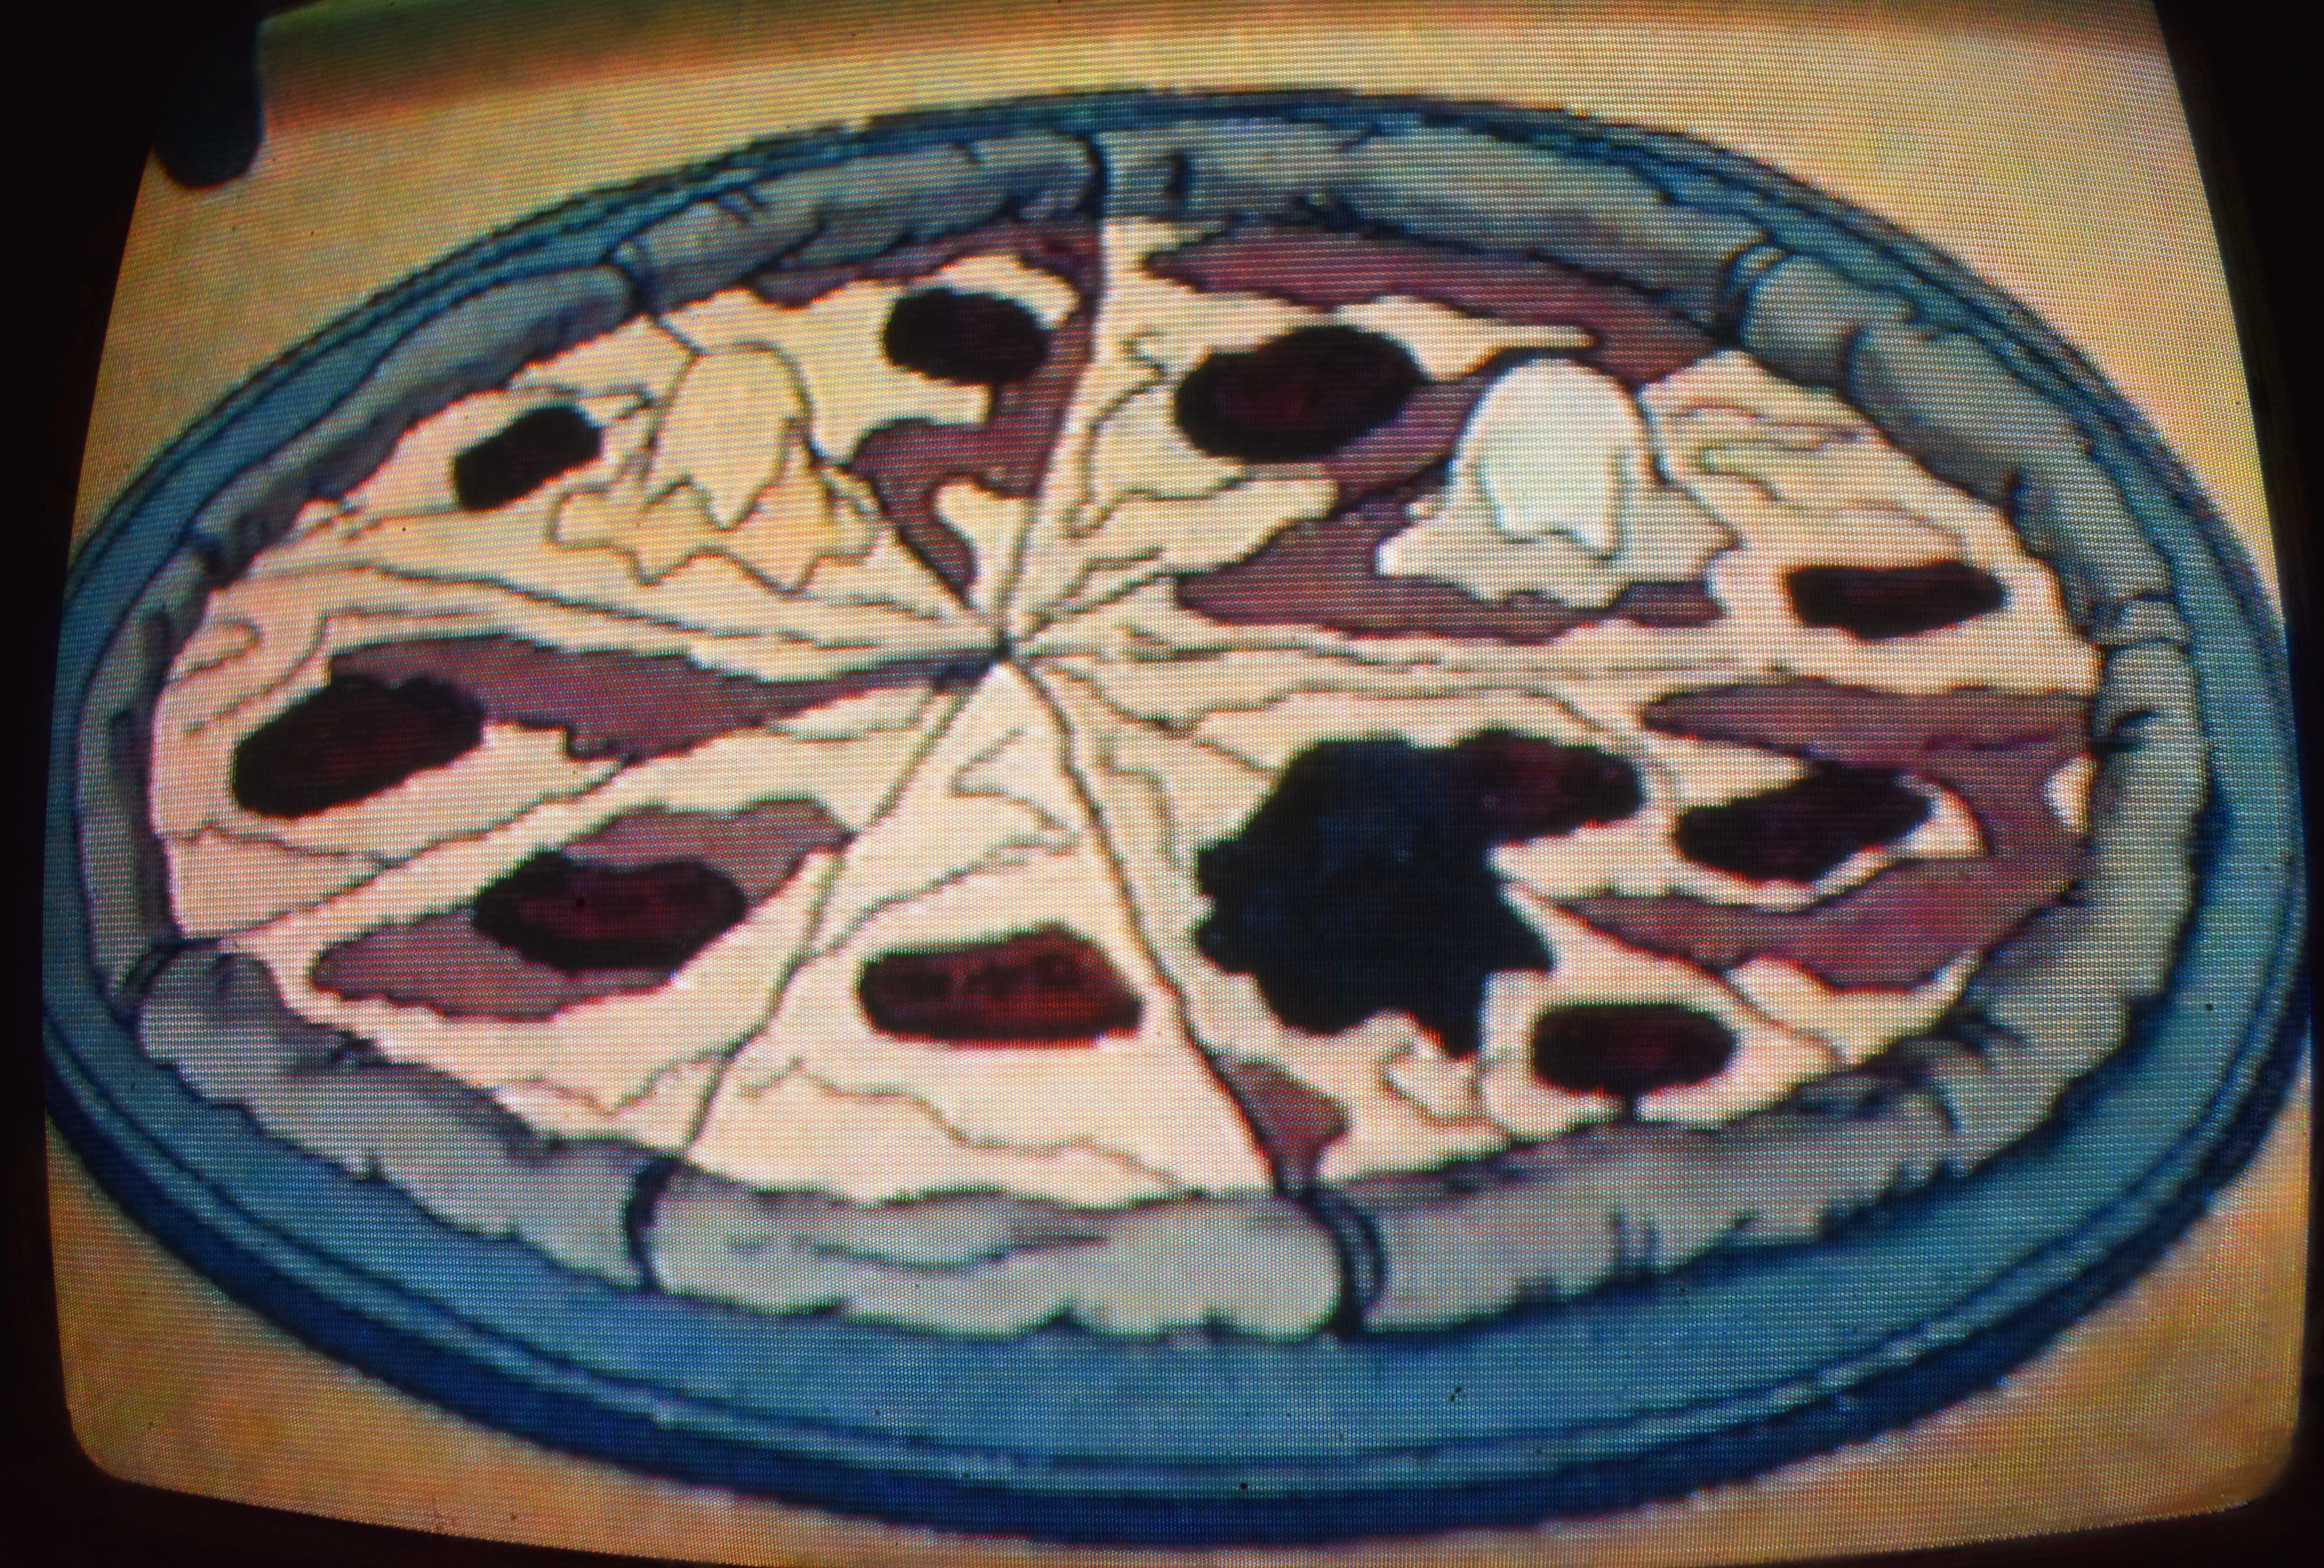
Episode: Turtle Tracks (and just about every other episode)
Pizza
Sometimes I wonder how long I would’ve been able to survive if I never met the Teenage Mutant Ninja Turtles. Every instance where I thought I was going to positively die of boredom, those heroes in a half shell came to my rescue. It doesn’t sound like much, but it was a huge deal for me as a little kid. Family haircuts were an excruciating three hours of flipping through the same old magazines until I discovered our hairdresser’s son had an extensive Turtle toy collection. Or whenever my parents threw parties at our local lodge, us kids would find solace in one tiny hallway with a Turtles arcade game. Even when our parents didn’t give us money to play the game, we’d still hide out in the hallway and watch it replay the same scenes again and again. And most importantly, I could find those boys on my TV, protecting me against Shredder, Krang, and bad television.
Every time I tuned into my favorite fearsome fighting team, I learned just how far a pizza could be pushed beyond the limit of simple pepperoni. I’ve eaten enough pizza throughout my life that I could easily go toe to toe with Michelangelo. My combinations aren’t as inventive as bananas and sausage, but I’ve made some masterpieces. Leftover Thanksgiving Dinner is one of my very favorites. It may be more work than ordering out, but I haven’t seen any Weird Pizza To Go locations anywhere and what Pizza Hut carries guacamole and marshmallows?
Recipe makes one large pizza
Ingredients
Crust:
1 ¼ cups warm water (105-110 degrees F)
2 ¼ teaspoons yeast (active dry or instant both work)
3 teaspoons sugar
3 tablespoons instant non-fat dry milk powder
1 ½ teaspoons salt
1 ½ tablespoons olive oil
3 cups bread flour
Sauce:
1 can (28 ounces) whole peeled tomatoes
1 clove garlic, minced
¼ small onion, minced
½ teaspoon dried oregano
½ teaspoon dried parsley
1 teaspoon sugar
2 tablespoons ketchup
Salt and Pepper to taste
1 tablespoon olive oil
Toppings:
Whatever you want. I did a mashup of:
Pepperoni and Ice Cream, Jellybeans and Mushrooms, and Anchovies and Peanut Butter
Use as much or as little of:
8 ounce bag of shredded mozzarella
1 6 ounce package pepperoni
1 small pack of mushrooms
1 small can anchovies
1 small bag of jellybeans
1 heaping spoonful peanut butter
1 heaping spoonful chocolate ice cream
1 heaping spoonful vanilla ice cream
Directions
Crust:
In a small bowl, dissolve yeast, sugar, and dry milk powder in the warm water. Let rest for 5-10 minutes or until foamy. Combine flour and salt in a large bowl. Add olive oil and yeast mixture to flour. Stir to combine and form into a ball with your hands. Turn the dough out onto a lightly floured surface and knead for 10 minutes. Form the dough into a ball again and place in a large bowl. Lightly coat dough with oil and cover bowl with plastic wrap. Let the dough rise in a warm place for 2 hours or until it has doubled in size. Punch down the dough and flatten and stretch it into desired pizza size and shape. Let rest for 15 minutes on a lightly floured pizza paddle or on a pizza pan.
Sauce:
Mash tomatoes in a small bowl. Pour olive oil into a large saucepan over medium heat. Add onions and cook until translucent. Add garlic and sauté for one minute. Add tomatoes and ketchup. Add oregano, parsley, sugar, salt, and pepper. Turn heat to low and simmer for 15 minutes, stirring occasionally.
Putting It All Together:
If you have a pizza stone, place it in the oven. If not, make your pizza on the pan and place it in the oven once it’s heated.
Preheat oven as high as it can go! Mine was at 550 degrees F.
Ladle desired amount of sauce onto crust. Add cheese. Add toppings. (Meat and mushrooms in my case.) Transfer pizza from paddle to stone or pan. Bake until crust is browned and cooked through. My pizza was in there for 15 minutes, but ovens vary so you may have to adjust your cooking time.
Remove pizza from the oven. Let it cool slightly and add the melty ingredients. Slice it up and have at it!
Pizza is the greatest food ever! It tastes amazing, it’s portable, and you can put whatever you want on it. I’m pretty sure if you cut me open, I bleed pizza sauce. Well, if the Turtles ever need another member, I’m always free. My ninja skills are nothing to write home about, but I can always help them eat through a mountain of pizza. Oh, and I’ve been practicing this for years, so I’ve got to say it once before I go…ahem…COWABUNGA!!!!
I know I’m opening the floodgates when I mention the “D word,” but I’ve been dying to start covering Disney movies. Naturally, I was raised on them and this lucky little person got to experience the Disney Renaissance first hand. The movie previews alone were enough to completely blow me away and then came the toy and food promotions. By the time opening night rolled around, I was a big bundle of nerves and excitement. One of these beautiful films carved into my memory is Mulan. It’s one of my go-to movies and has traveled by my side on just about every family vacation since its home video release. Hardly a day goes by where I don’t bust out a quote or a bit of song from this movie. It’s been like that since the days when my cousin and I would lock ourselves in her room and sing and dance to the soundtrack in our Mulan garb. (She had one wrap-around costume that we’d take turns wearing.) When that was no longer enough, my grandma whipped up the perfect Halloween costume for me that I’d still wear today if I could fit in it. You don’t meet a movie like that every dynasty, so it’s only natural that it would become a part of my life.
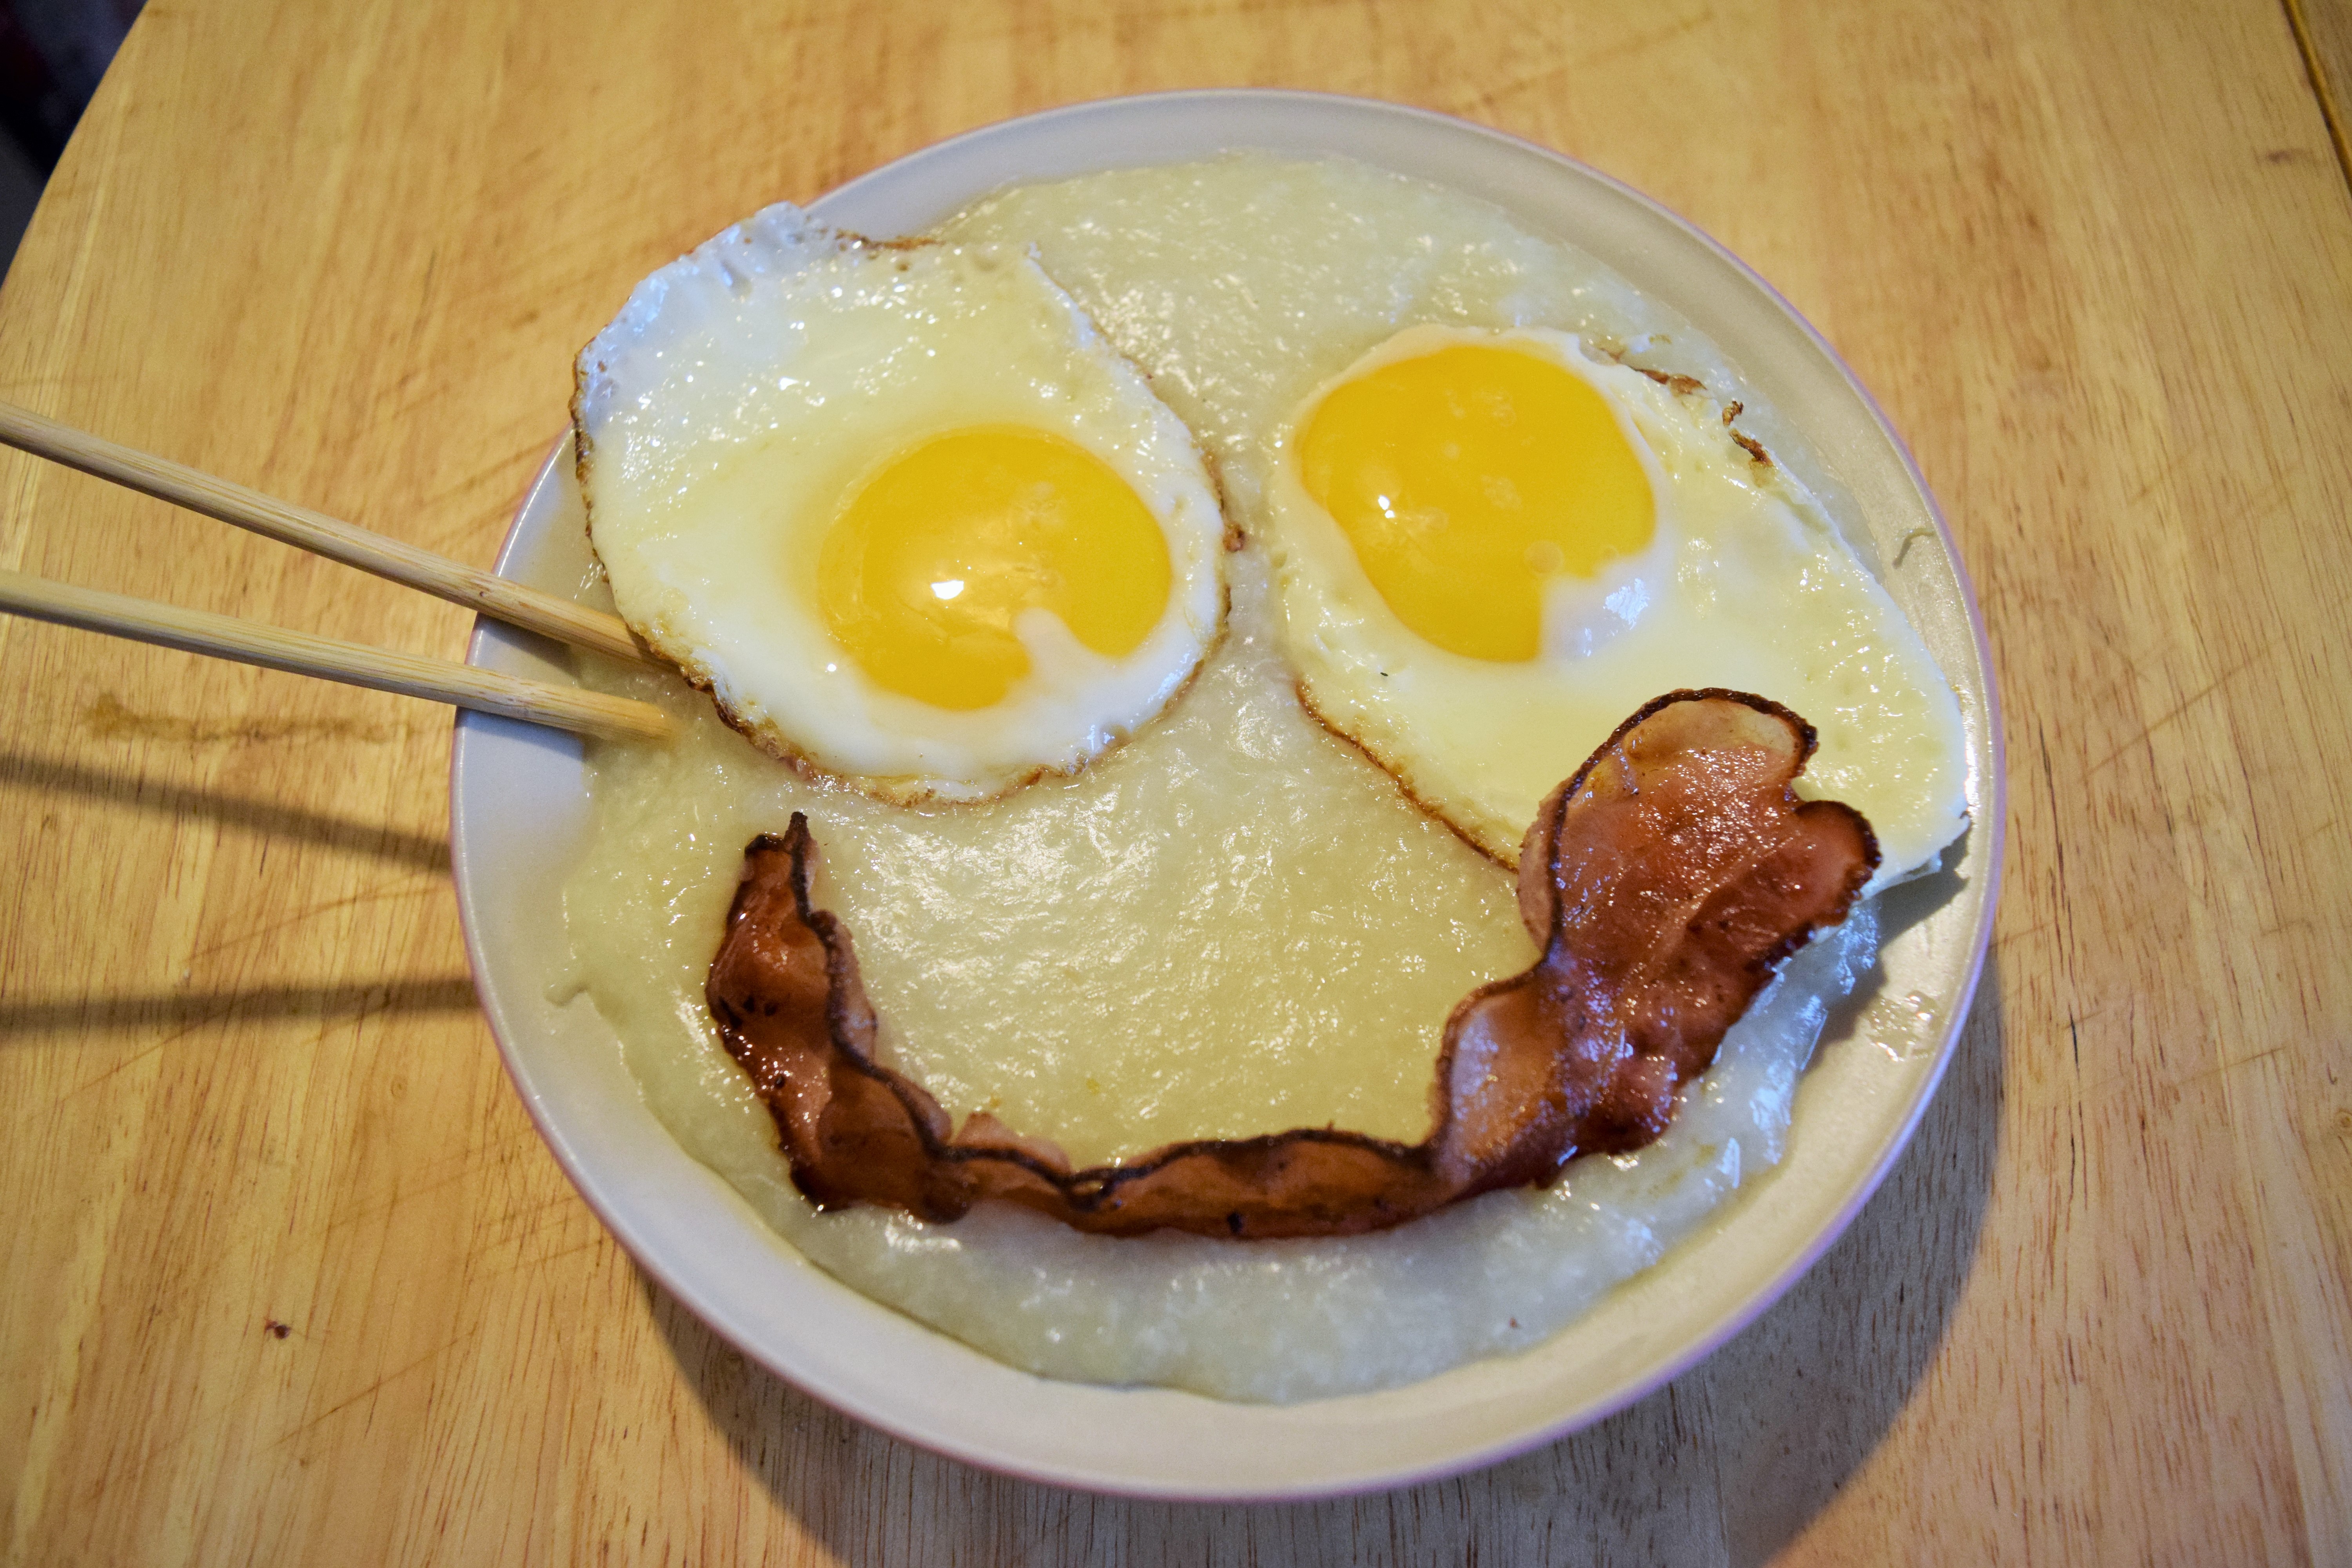
No, I don’t see myself defeating Shan Yu and saving China, but that doesn’t mean I can’t be Mulan in my own right. Whether I’m off to destroy people or just heading into work, the best way to start my morning is with a nice breakfast. And one that’s happy to see me to boot. Okay, so rice porridge can be pretty simple, but it’s delicious and comforting and I’d smile right back at it if I ate a big bowl of it every day.
Recipe makes 6 one-cup servings.
Ingredients
3 cups water
6 cups chicken broth
1 cup rice, rinsed
1 clove garlic, minced
¼ of an onion, minced
¼ ounce piece of peeled fresh ginger
Salt and white pepper to taste
Soy sauce to taste (Optional)
Each serving will need:
2 large eggs
1 slice of bacon
1 tablespoon olive oil
Salt and white pepper
Directions
In a large pot, combine water, chicken broth, rice, garlic, onion, and ginger. Bring to a boil over high heat. Reduce heat to low, cover, and simmer for 1-1 ½ hours, stirring occasionally. You want a creamy, oatmeal-like consistency. If it gets too thick, you can add more water or broth. If it’s too thin, allow it to cook longer. Remove ginger piece. Season with salt, white pepper, and soy sauce.
Place a frying pan on medium to low heat. Coat the pan with olive oil. Crack eggs directly into pan and cook until the tops of the whites are set and the yolk is still runny. If the eggs start changing color, turn down the heat. Remove from pan with a spatula and season with salt and white pepper.
Place bacon in a cold pan and set heat to low. When bacon begins to curl, flip it to the other side. This can take about 7 minutes. Continue to cook, flipping it over every few minutes, until it’s browned and almost at your desired crispiness. The bacon will continue to cook after it’s removed from the pan. Drain excess grease by setting the bacon on a plate covered with paper towels.
Putting It All Together:
Scoop out a cup of porridge into a bowl. Place two eggs on top for eyes and add a bacon smile. Grab yourself a pair of chopsticks or a spoon and dig in!
My family is the most important thing to me and I’d do anything for them. That’s why I made enough rice porridge to serve my entire household. I find it a little safer than stealing my father’s armor, running away from home, and impersonating a soldier. Mulan already has that covered, so I’ll just let my heart show me the way to my own greatness, or maybe just a second helping of porridge.
I have no idea how I did it, but when I was a kid, I hardly ever slept. I couldn’t afford to. There was too much TV to watch. As time slowly crept to the wee hours of each morning and everyone else was asleep, I could be found in my living room huddled next to my television set. Some of my favorite things to watch on late-night TV were classic cartoon shorts. It didn’t matter who made them, how old they were, or if they were black and white or colored. I was captivated by them. That hasn’t changed. Yeah, I could’ve just waited a few hours and watched cartoons at a more “reasonable” time, but that’s not me. Watching cartoons alone in the dark really gave me a sense of companionship with the characters on my screen. I really felt like I was best friends with Mickey Mouse and the gang. We would go to the beach or try to catch ghosts. I was even invited to Mickey’s birthday party.
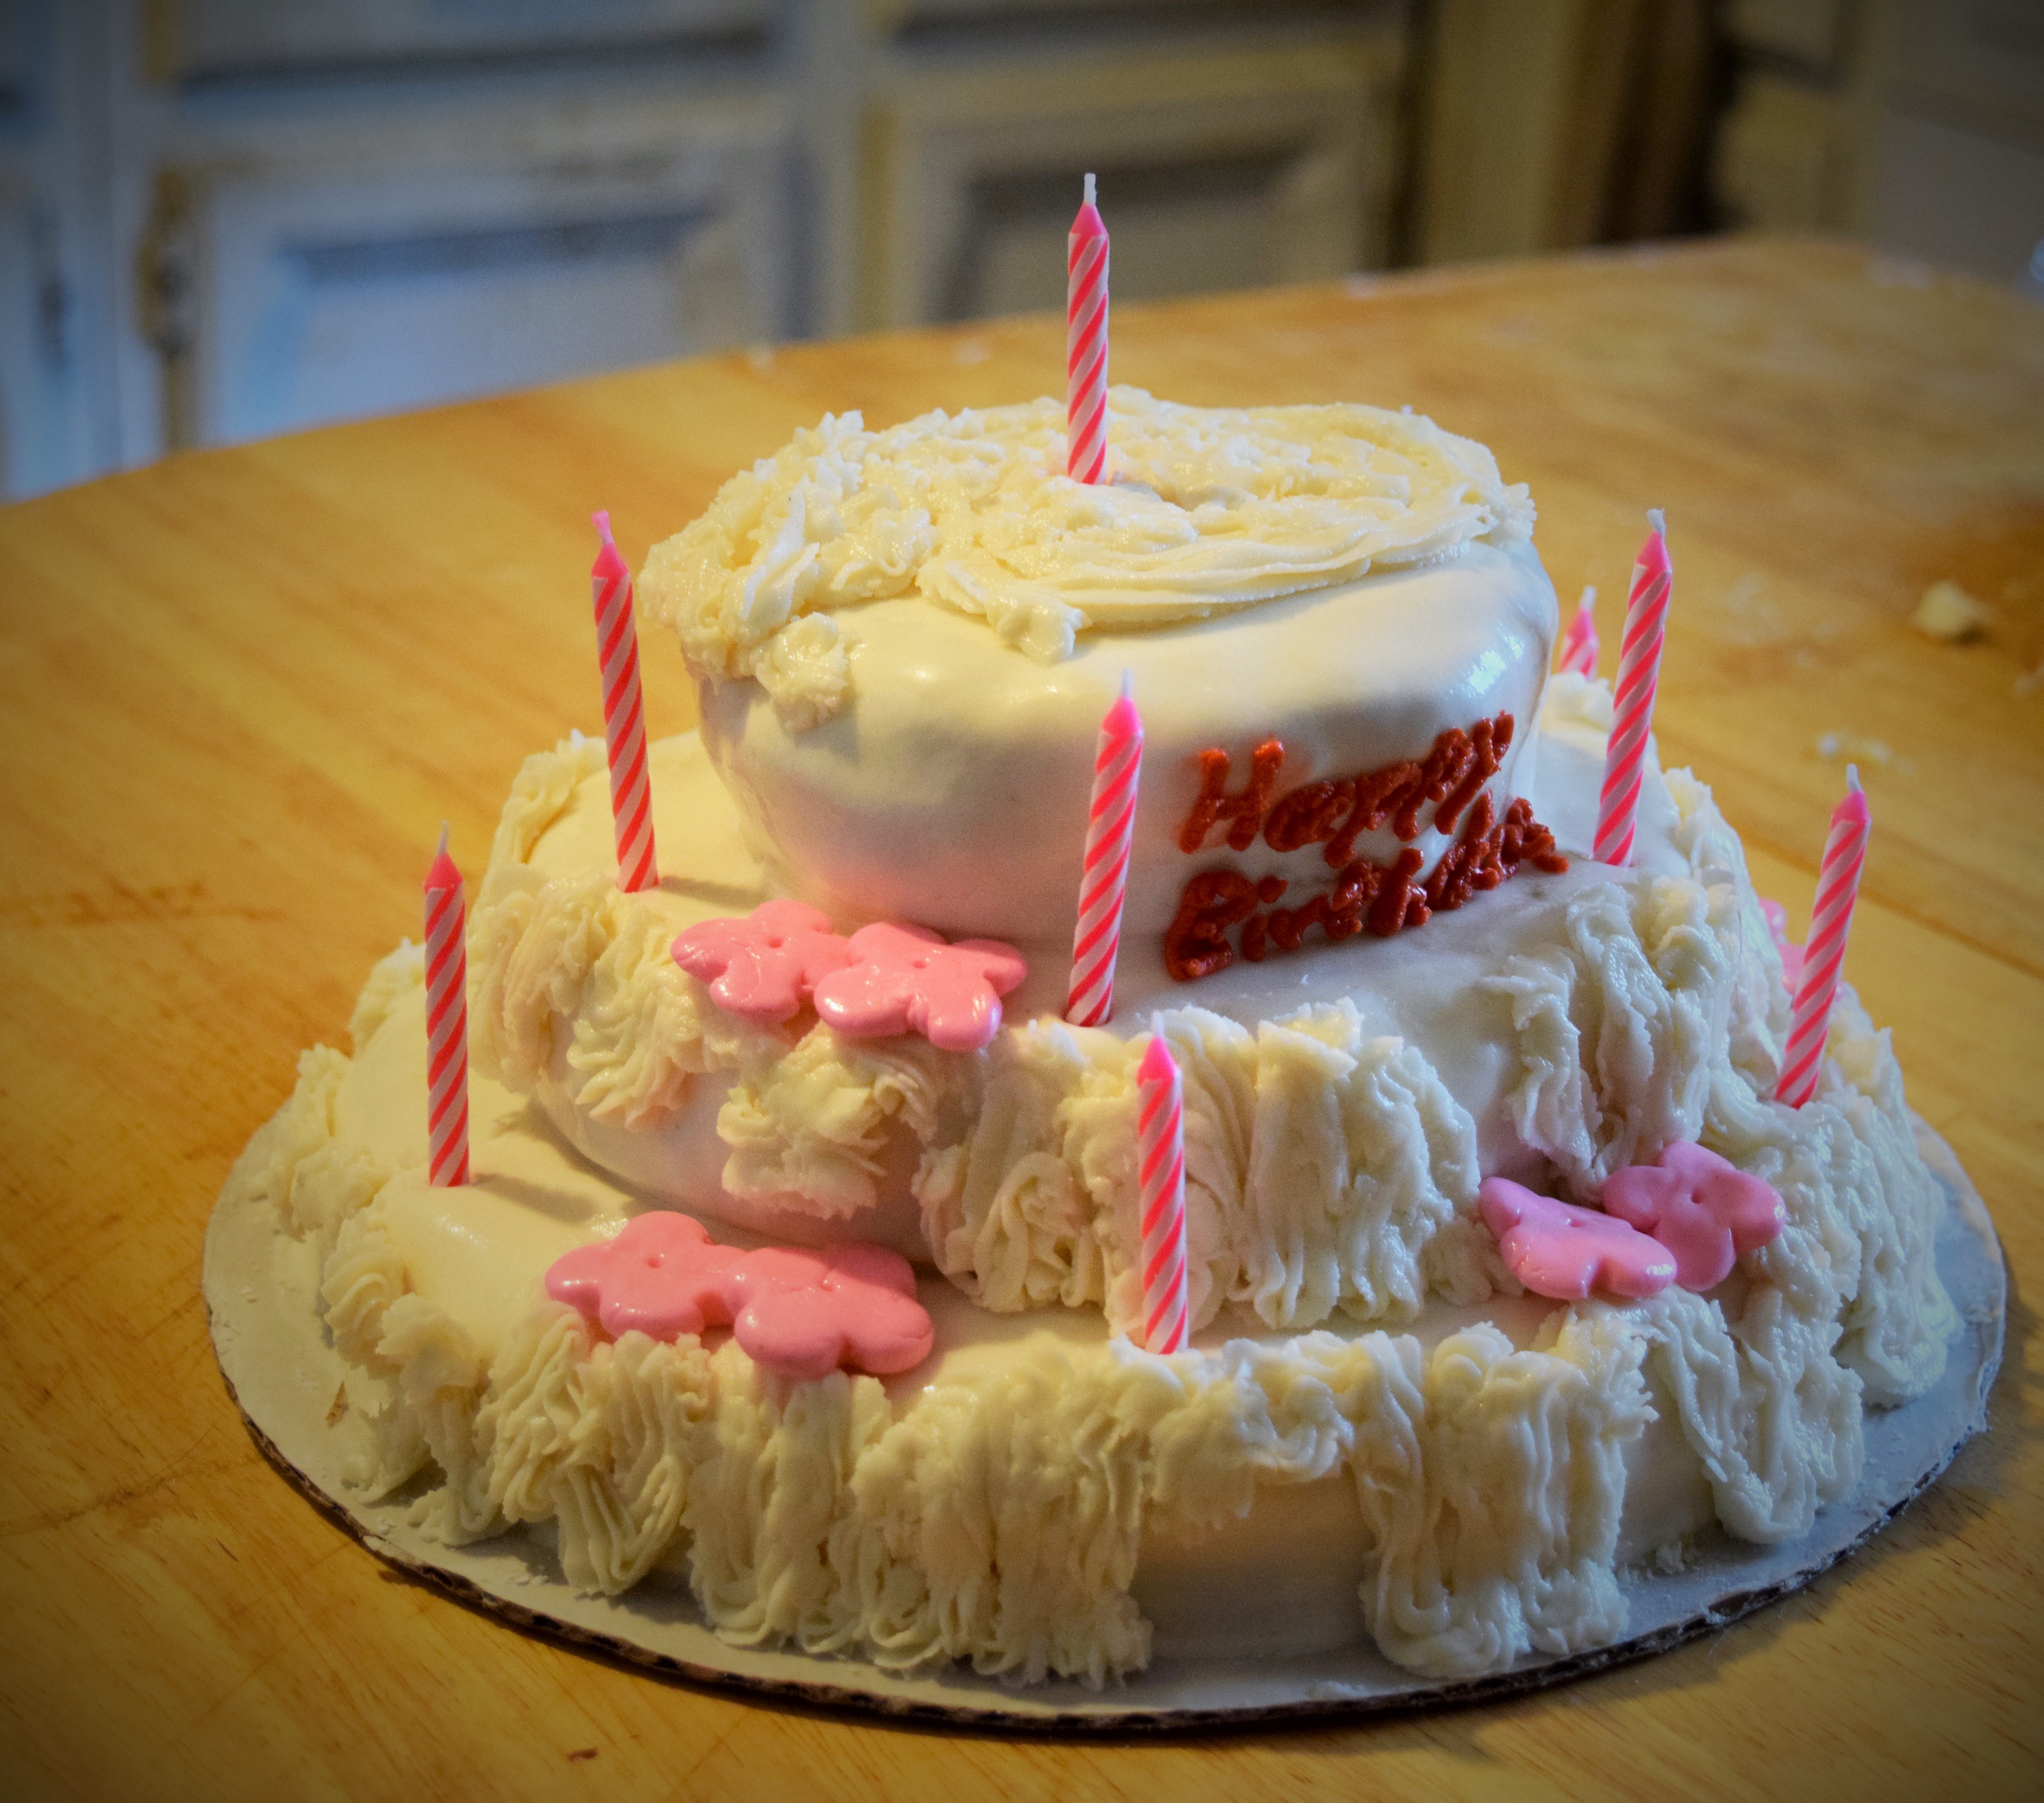
This is one of my absolute favorite Mickey Mouse cartoons, but not because of the birthday boy. Goofy and his cake escapades completely stole the show. That poor guy! I’ve had days just like his. You bake and bake, but nothing ever comes out right. When you’re finally happy with it or you just break down and buy a cake, you happen to trip and it collides with your friend. Thankfully, that didn’t happen with my cake. I’m not too great at decorating cakes, so it’s not the prettiest, but I felt like being a little ambitious in honor of my very own birthday.
Ingredients
Cake:
1 cup (2 sticks) butter, room temperature
2 cups sugar
4 large eggs, room temperature
2 ¾ cups cake flour, sifted
2 teaspoons baking powder
½ teaspoon salt
2 teaspoons vanilla extract
1 cup milk, room temperature
Marshmallow Fondant
8 ounces of marshmallows
2 tablespoons water
½ teaspoon vanilla extract
4 cups (1 pound) powdered sugar, sifted
Pink food coloring
Buttercream Icing
½ cup (1 stick) butter, room temperature
½ cup shortening
2 teaspoons vanilla extract
2 tablespoons milk
4 cups (1 pound) powdered sugar, sifted
Red food coloring
Directions
Preheat the oven to 350 degrees F.
Grease and flour a 6-inch, an 8-inch, and a 10-inch cake pan.
Cake:
In a large mixing bowl, combine flour, baking powder, and salt. In a small bowl, combine milk and vanilla. In a standing mixer, cream butter and sugar until fluffy (about 3 minutes). Add eggs one at a time, beating well after each addition. Add flour mixture and milk alternatingly, beginning and ending with the flour mixture. Stir until just combined. Divide batter amongst pans. Gently tap or drop pans on the counter to remove air pockets. Bake for 30 minutes or until a skewer comes out clean when the cake is tested. Cool in pans for 10 minutes. Remove cakes from pans and wrap completely in plastic wrap. This will help keep your cakes moist. Cool completely on baking racks.
Marshmallow Fondant:
Melt marshmallows in a large bowl in a microwave for 1 minute, stirring at the 30 second mark. Stir water and vanilla extract into marshmallows. Stir in powdered sugar a cup at a time until sticky dough is formed. Dust counter with remaining powdered sugar and turn out dough. You may want to rub your hands with shortening or butter to keep them from sticking to the dough. Knead dough until smooth, workable, and no longer sticky. This can take up to 10 minutes. Then it’s ready to use. You can also make this the night before. Just wrap it in plastic wrap, and chill. Allow it to warm up to room temperature before trying to work the dough.
Buttercream Icing:
In a stand mixer, beat butter and shortening until fluffy. Add vanilla extract. Beat powdered sugar in, a little at a time. Scrape down sides of the bowl and add milk. If the icing is too thick, add more milk, ½ teaspoon at a time.
Putting It All Together:
Unwrap cooled cakes. Cut cakes to size and even out, if needed. Cover the cakes with enough icing to hold in the crumbs and allow the fondant to stick. Roll fondant out as thin as you can without tearing it. Cover bottom cake tier with fondant and smooth out sides so there are no creases. Remove excess fondant. Smooth out edges with hands or tools. Repeat with the other cakes and stack.
Knead a small amount of pink food coloring into some remaining fondant. Shape small pieces of pink fondant into flowers or roll and cut out with a small flower cookie cutter. Scoop some icing into a piping bag with a large tip and pipe icing onto the sides of each tier and the top of the cake. Place fondant flowers on the cake. Add some red food coloring to a small bit of remaining icing and scoop red icing into piping bag with a thin tip. Pipe out “Happy Birthday” onto the side of the cake. Light some candles and get ready to sing!
Variations: You can always use different sized cake pans if you want larger edges or a larger cake in general. The cake I made is very light in color, so if you want a more brown cake, add a little brown food coloring to the batter when you’re alternating the wet and dry ingredients. If you want to completely change it up, make whatever kind of cake you like best. You can also use pre-made fondant or icing if you’re pressed for time or just don’t feel like making any. Icing can also be made without the butter. Just double the shortening for even whiter icing. That’s the way my mom does it.
You can just use buttercream if you don’t care for fondant. After you initially ice the cakes, chill for at least 10 minutes. Dollop more icing on and spread until even and smooth. Chill the cakes again before you stack them and add the details.
Since I was making this cake for just myself, I did single layer tiers, but typical tiered cakes have multiple layers. (And are much bigger and more work.) Just double everything, spread icing between cake layers, stack, cover the tier with icing, and move on to the next one.
The cake’s not as big as Mickey’s, but it suits this birthday girl just fine. At least I’m not covered in it. Although I wouldn’t be too terribly upset. It’s still cake and it’s delicious even if it’s ugly or smashed. Hey, Mickey didn’t seem that heartbroken when he accidentally got his cake all to himself, now did he?